Accessing the Digital Toolkit
This guide walks you through:
- Signing up for a developer account
- Creating a test user
- Generating an external application
- Configuring a plugin
If you run into issues with either of these situations…
- Signing up for the first time
- Logging in again after previously signing up
… then try stepping through the Troubleshooting page.
Signing up for a developer account
Your first step will be to sign up for a developer account.
Once you have completed that step, return to this page and continue with the steps below.
Creating a test user
Next, let’s create a test user for you to use in the Garden demo institution.
Press the Generate test user button in the Test user card in the developer dashboard.
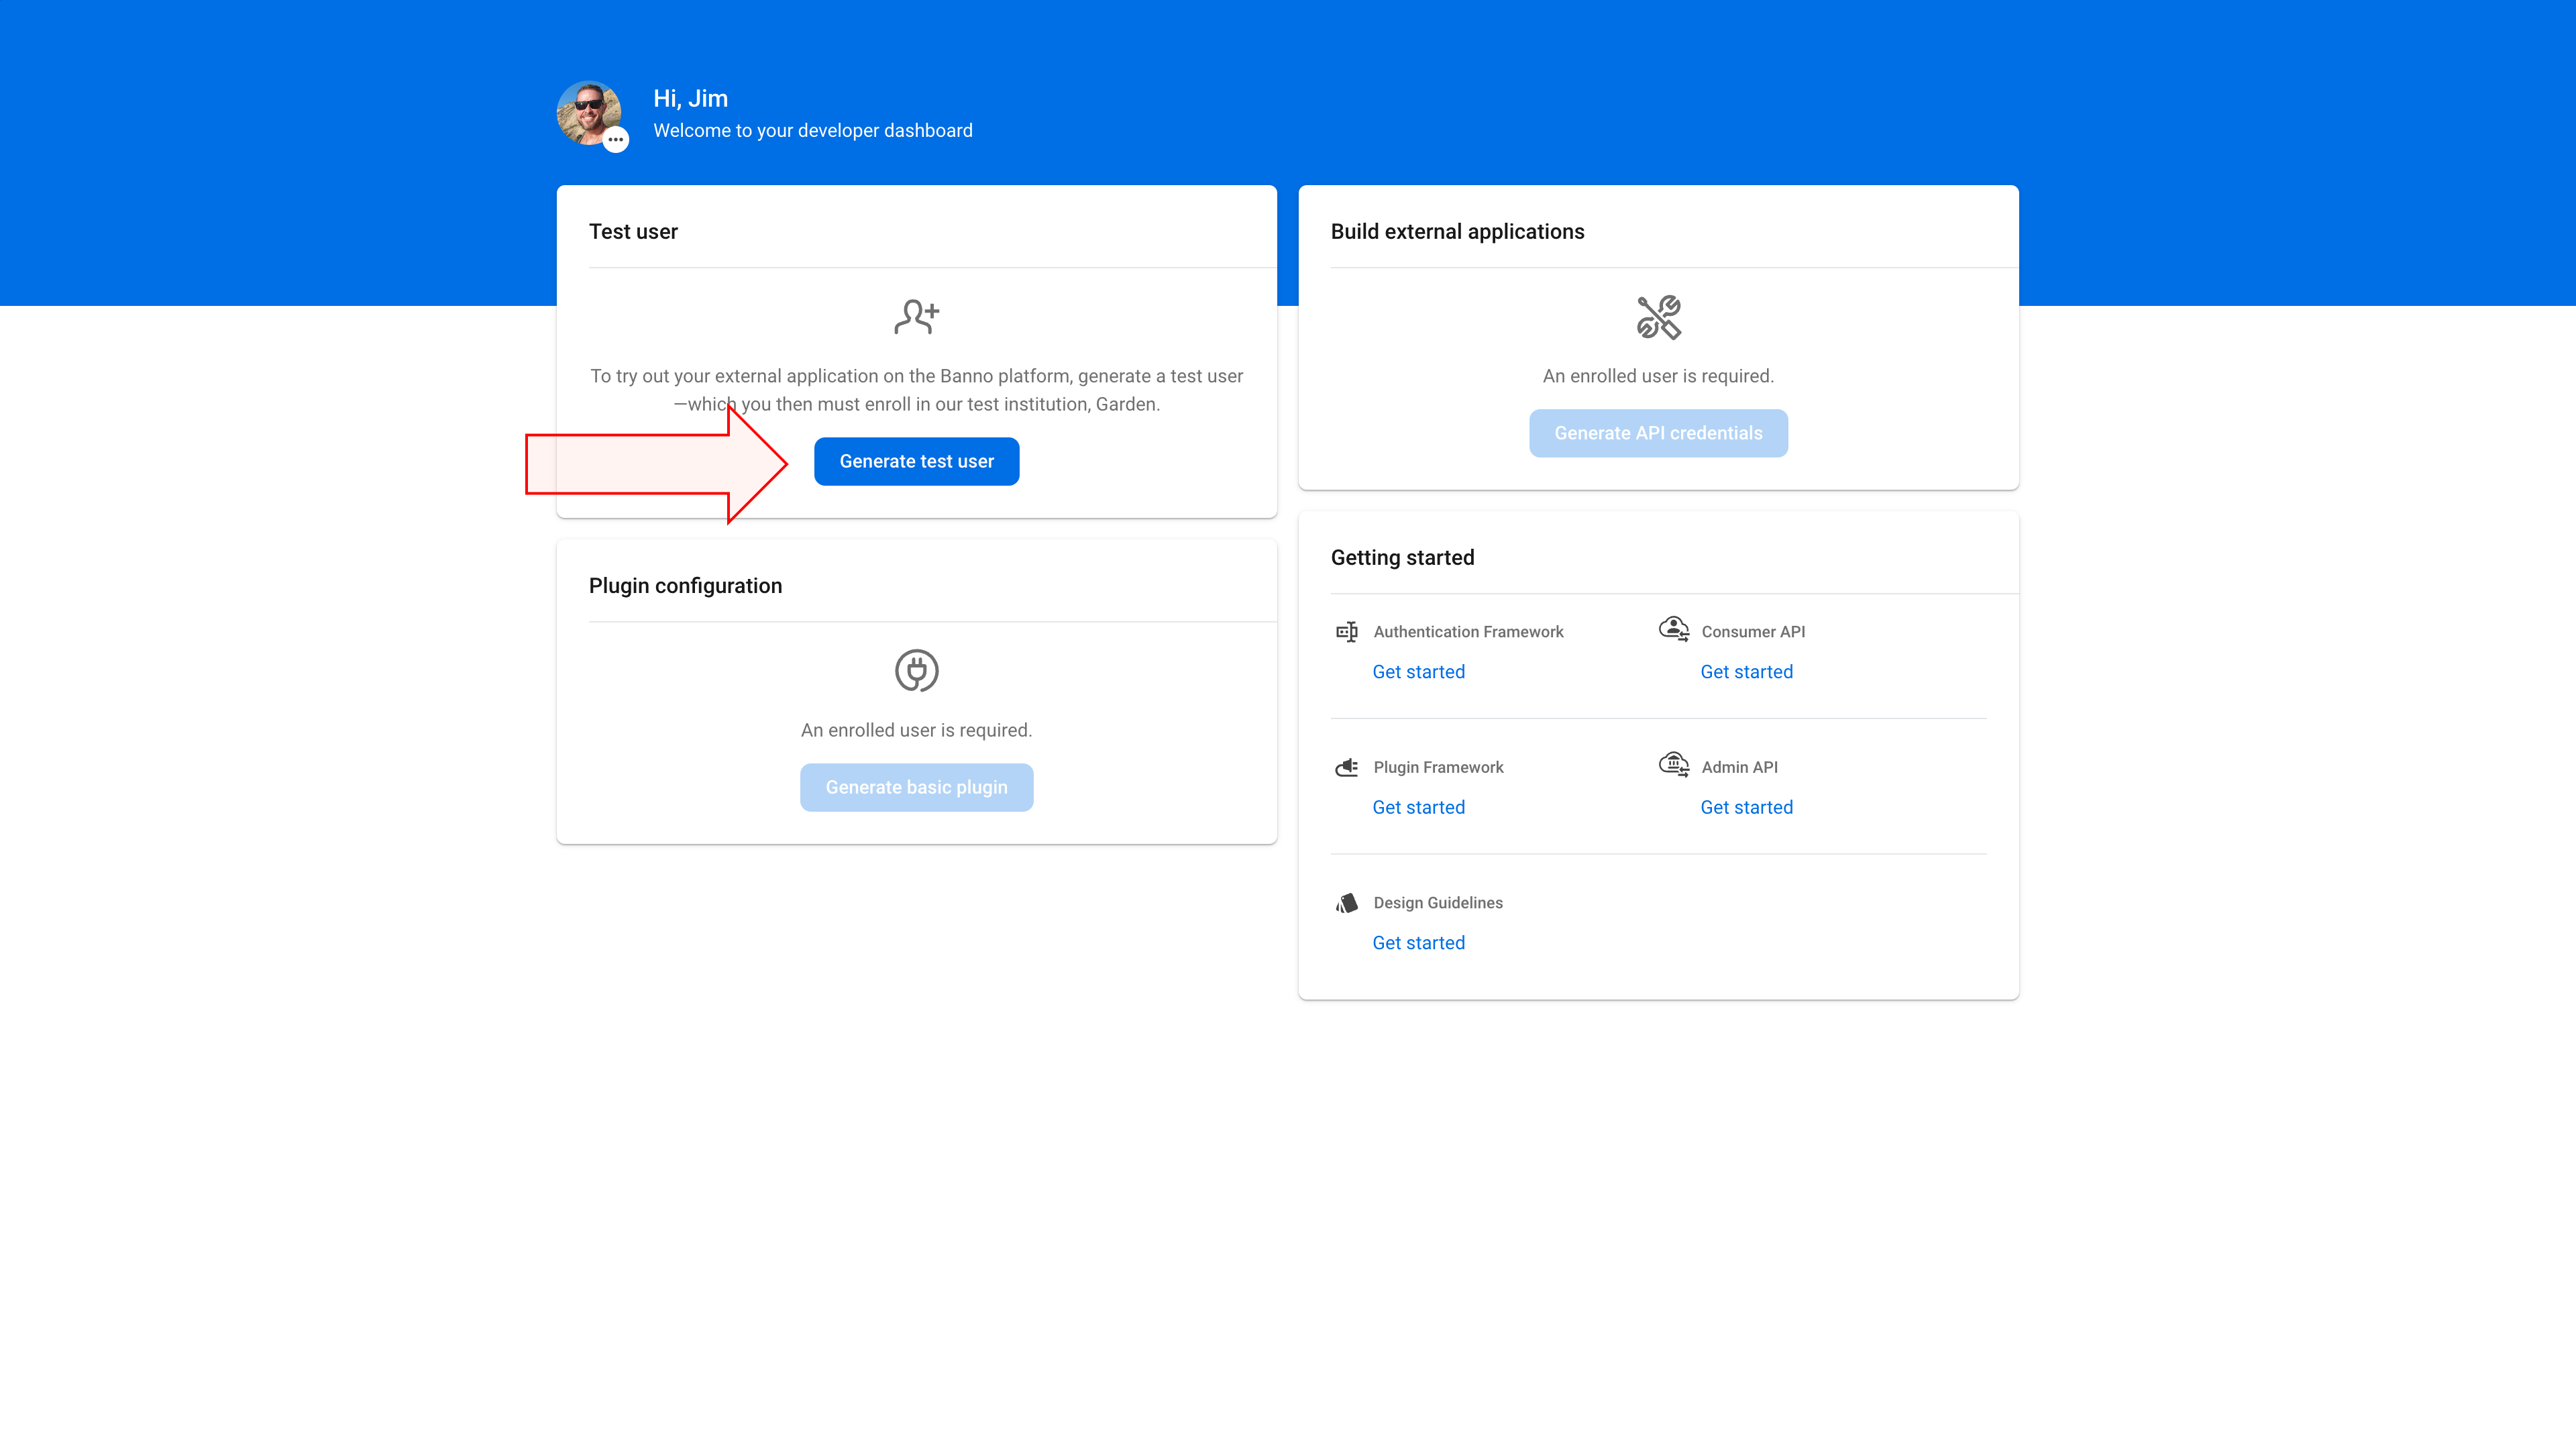
After the user has been created, press the Enroll in Garden button to open the Garden demo institution in a new browser tab.
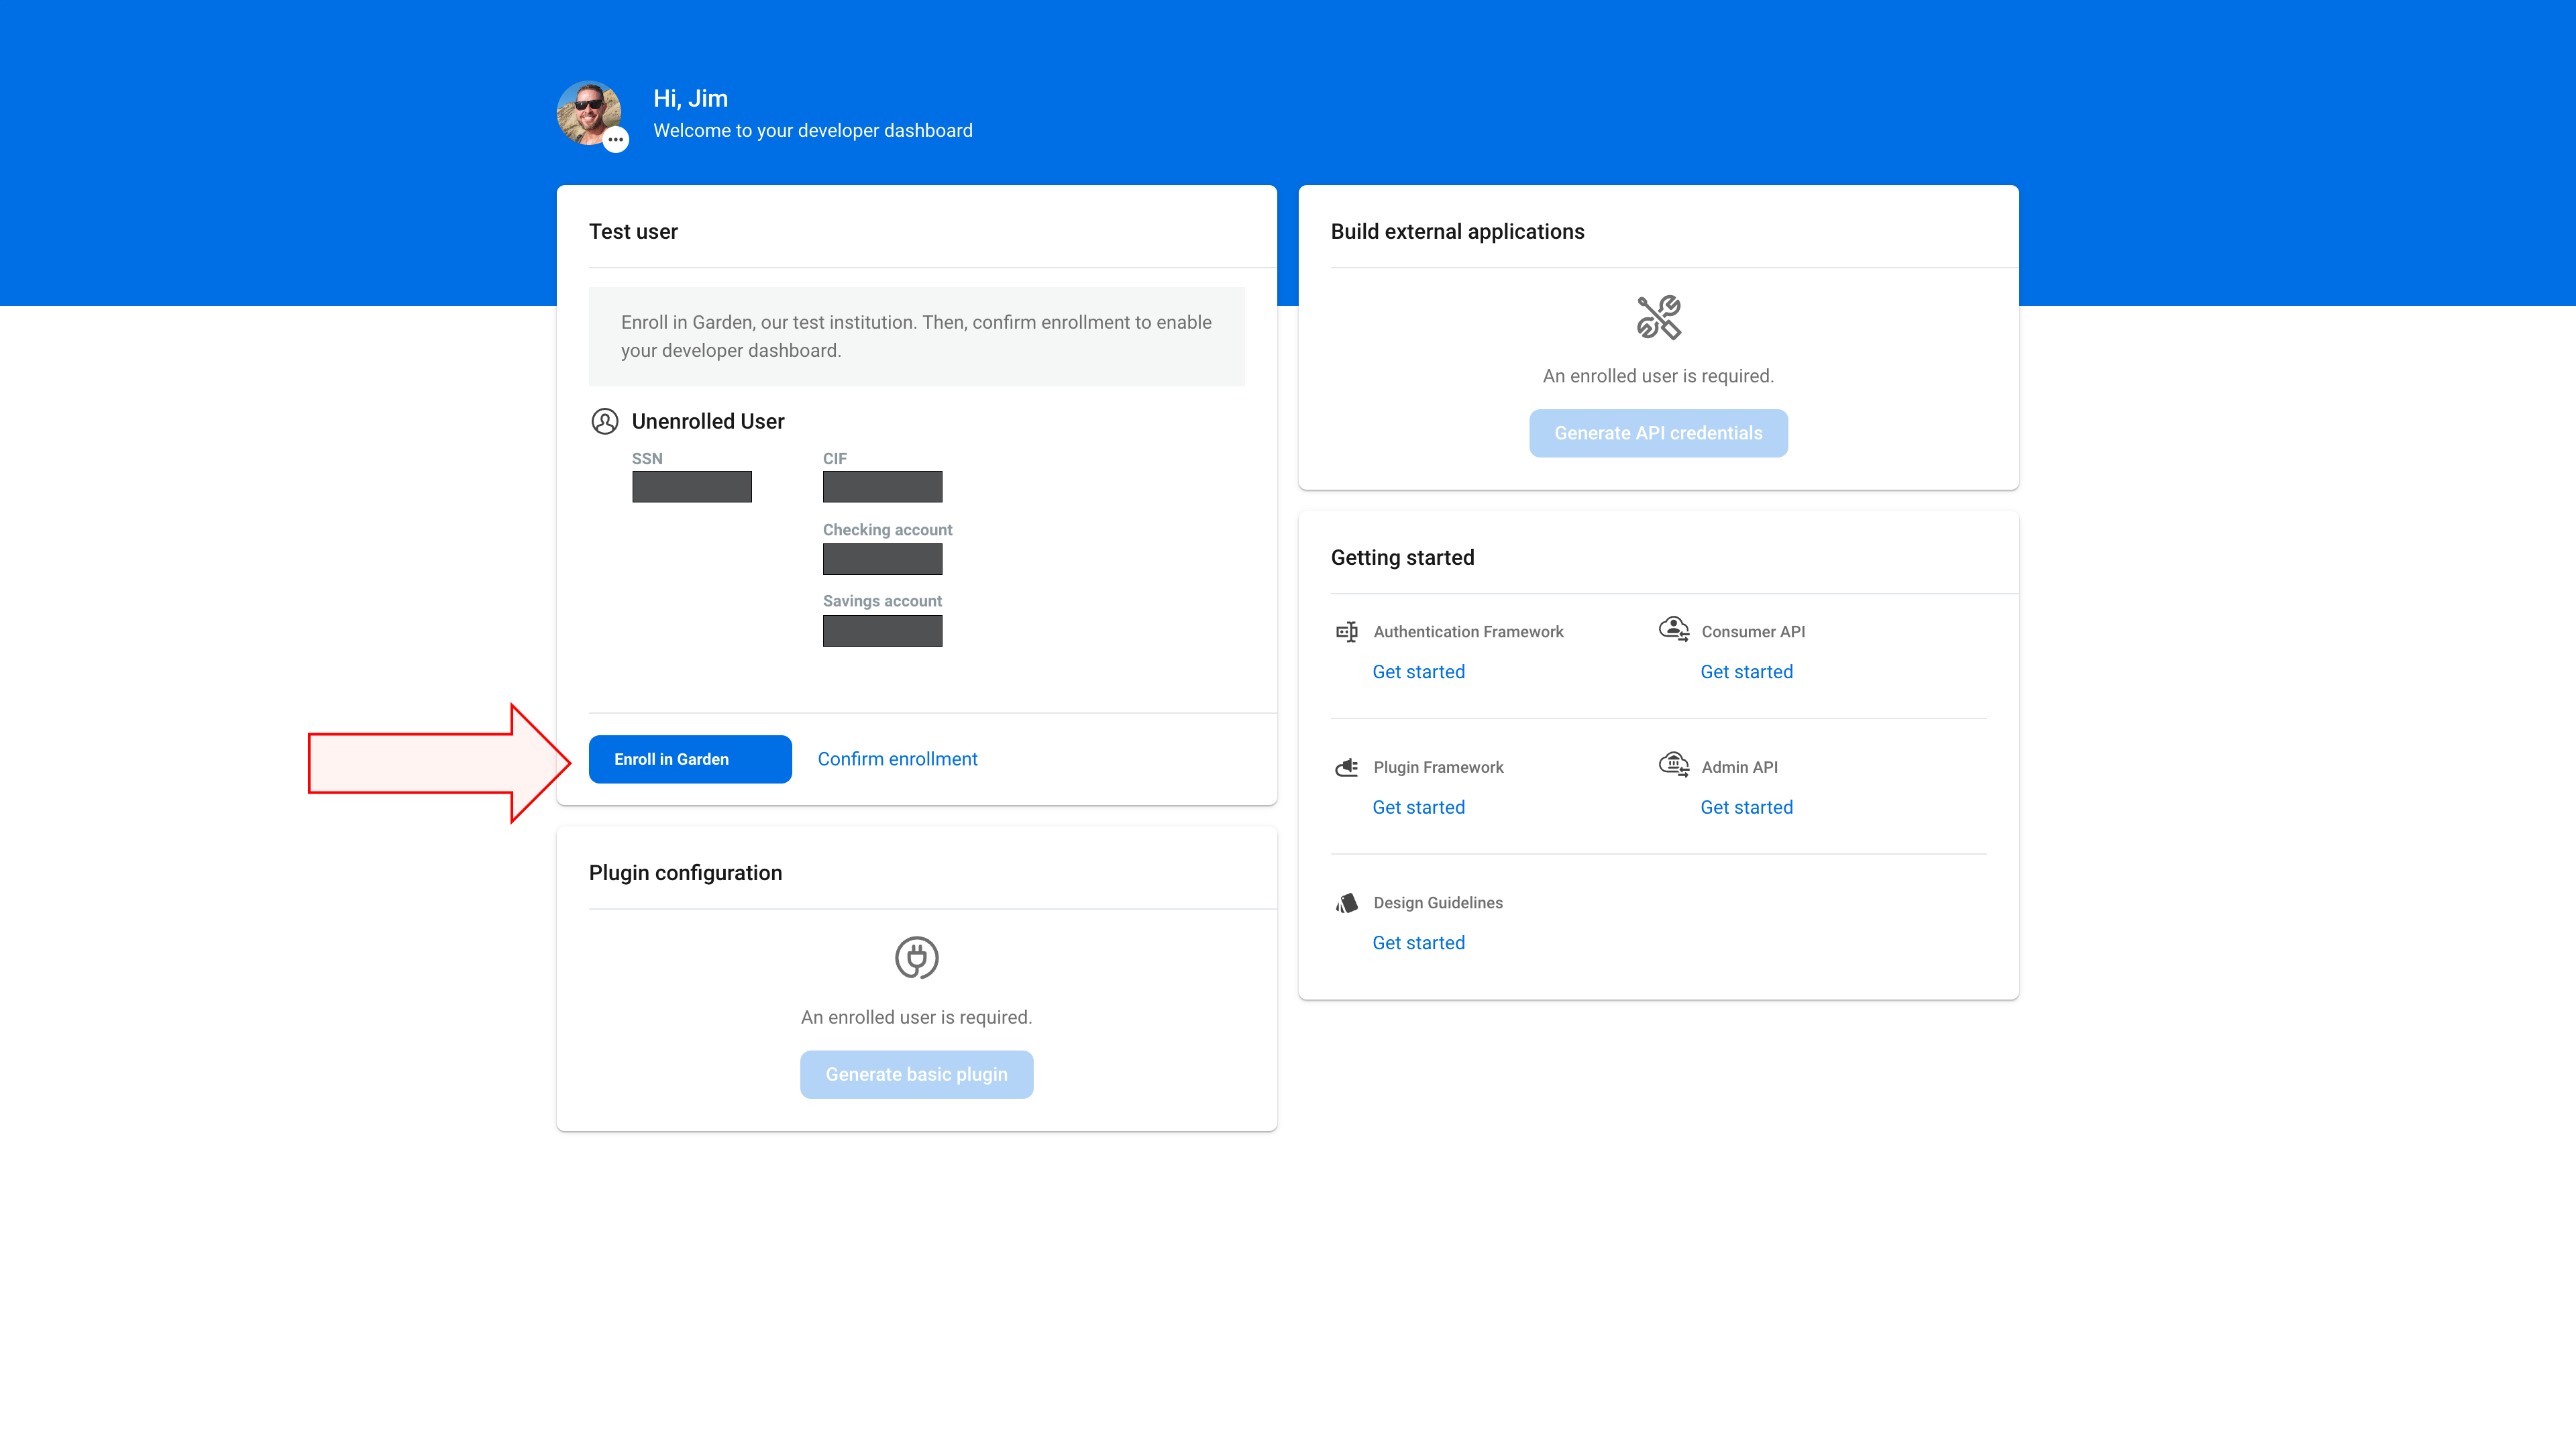
In the New user enrollment page, fill out the form using information from your developer dashboard:
- For the Social Security number field, enter the SSN number from the Test user card.
- For the Account number field, enter the Checking account or Savings account from the Test user card.
- For the Email field, enter the email address for the Google account you used in the Sign in with Google page.
- For the Phone field, enter the phone number you entered in the Before you continue page.
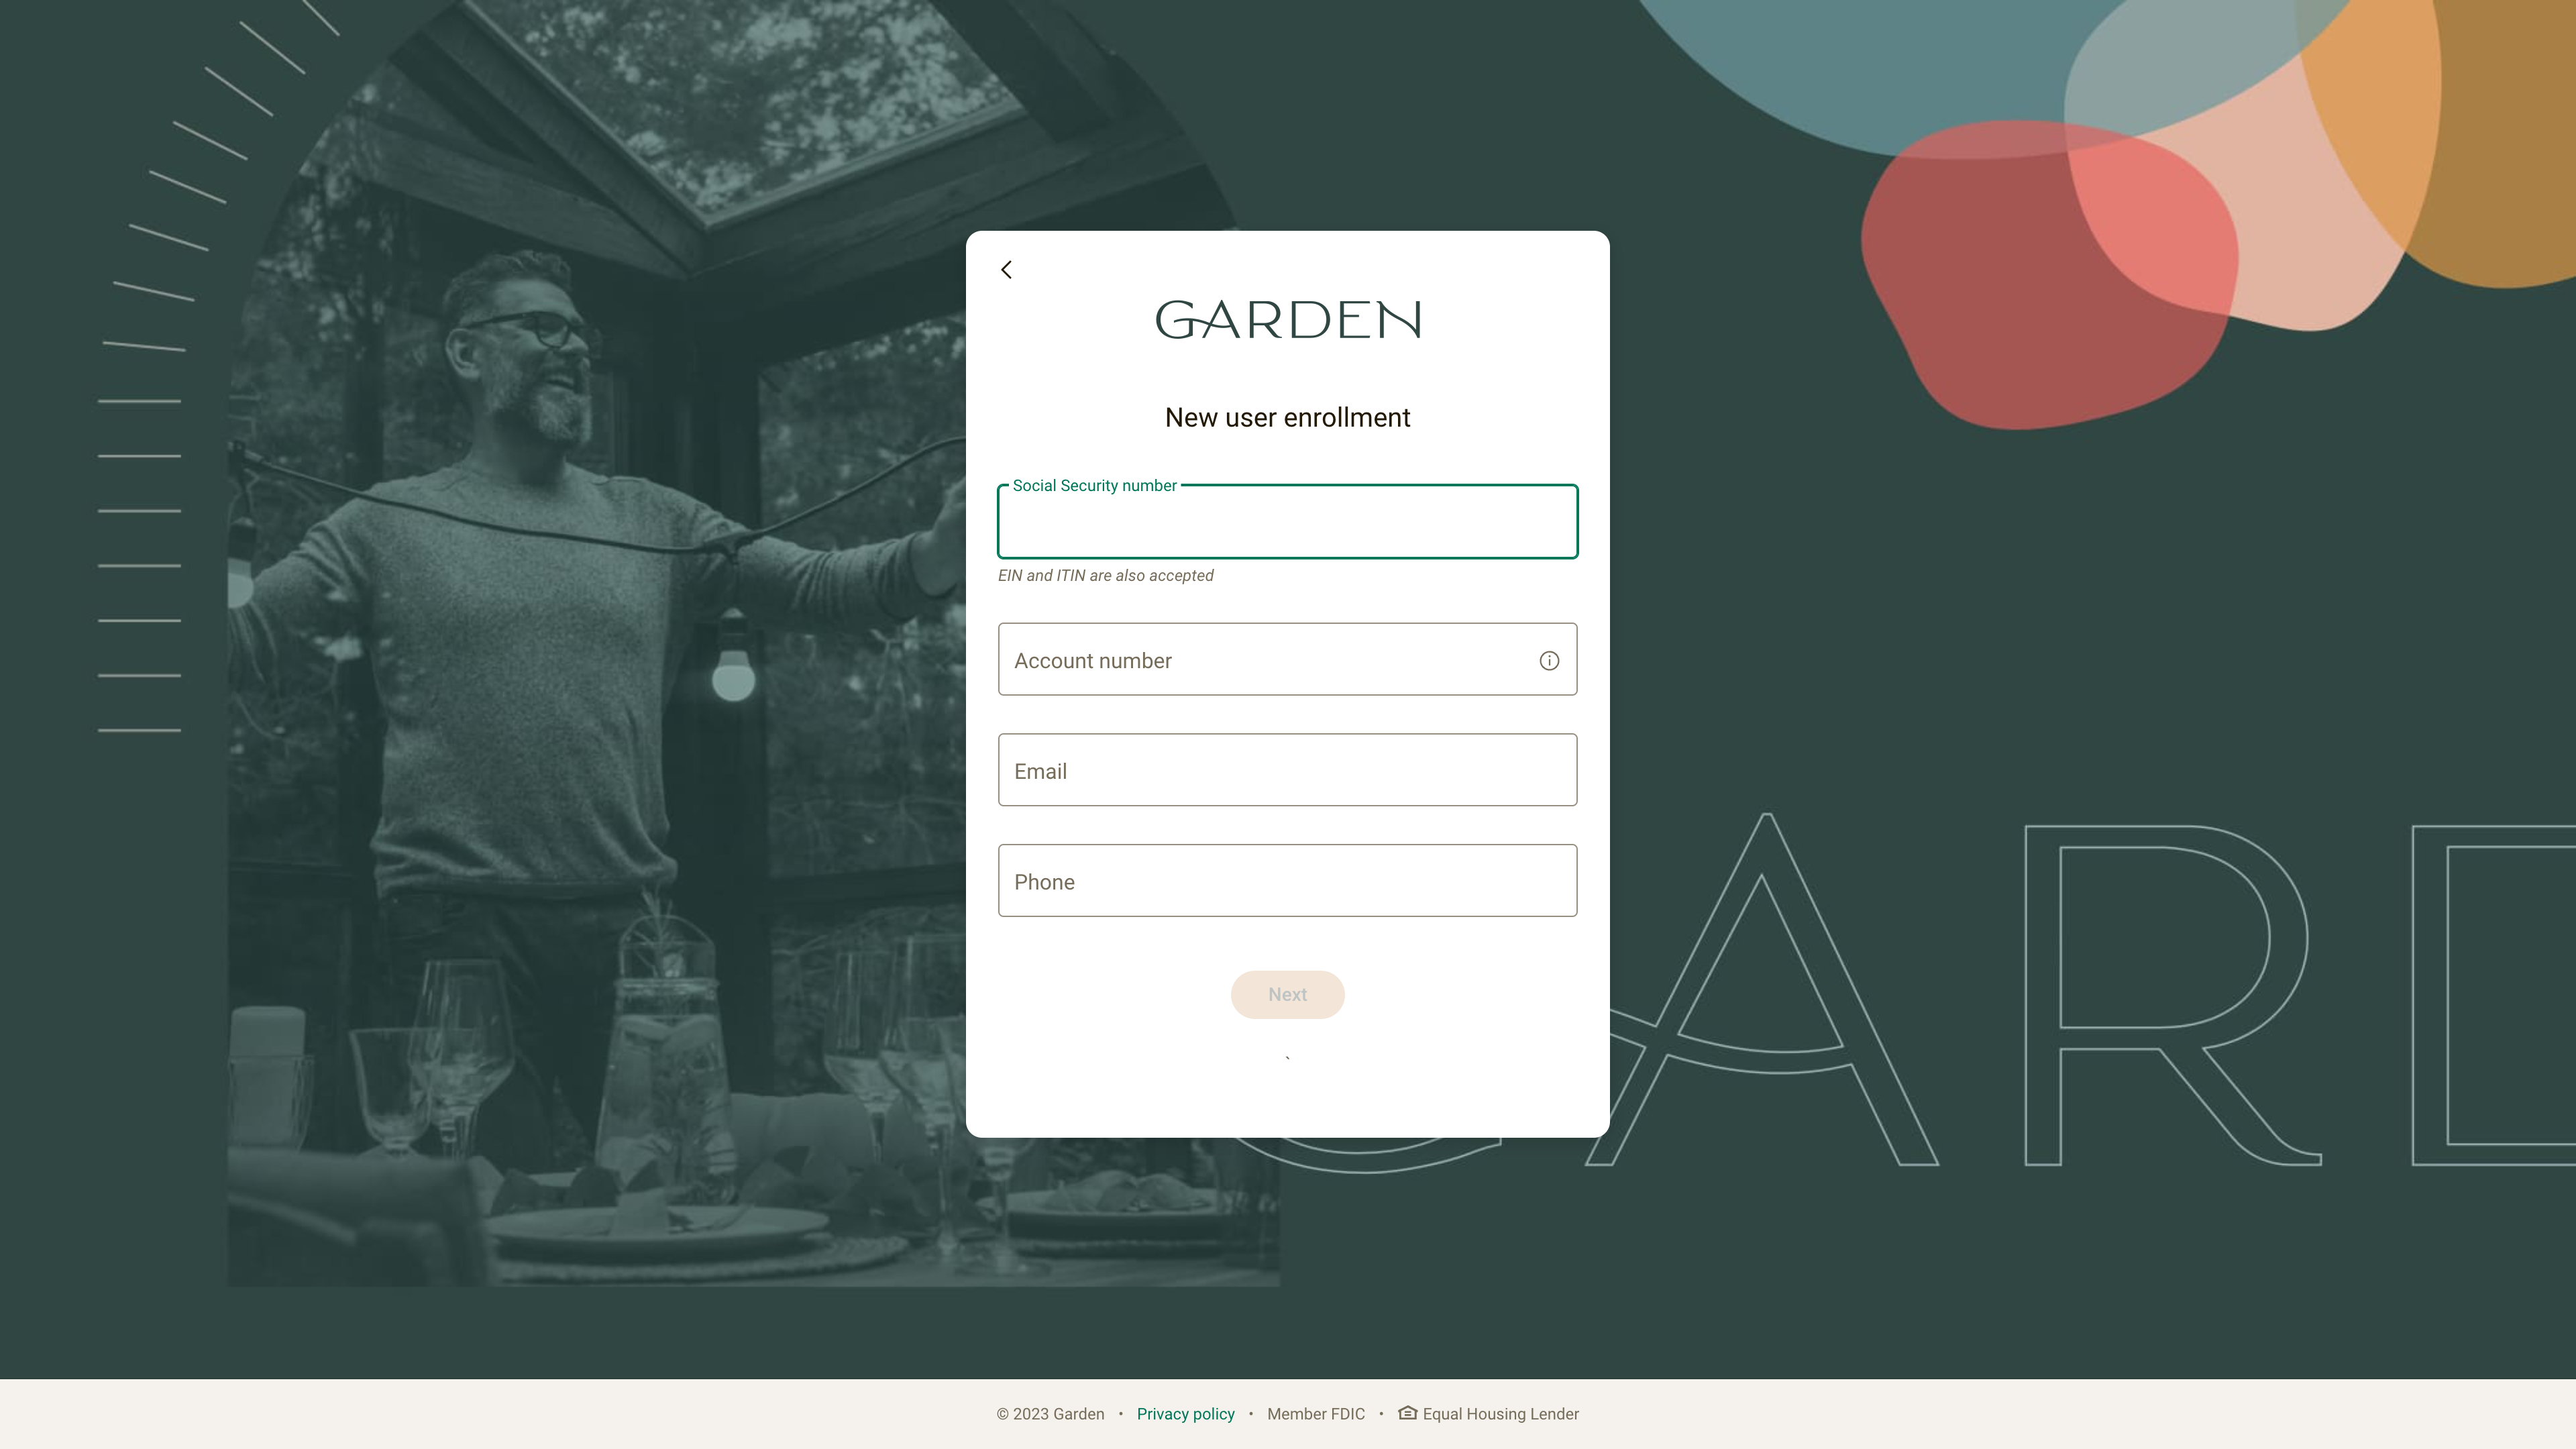
Press the Next button.
Your test user now exists in the Garden demo institution and is ready for enrollment.
Enroll the test user in 2FA and create username and password
Next let’s enroll your test user in 2FA and create a username and password for the Garden demo institution.
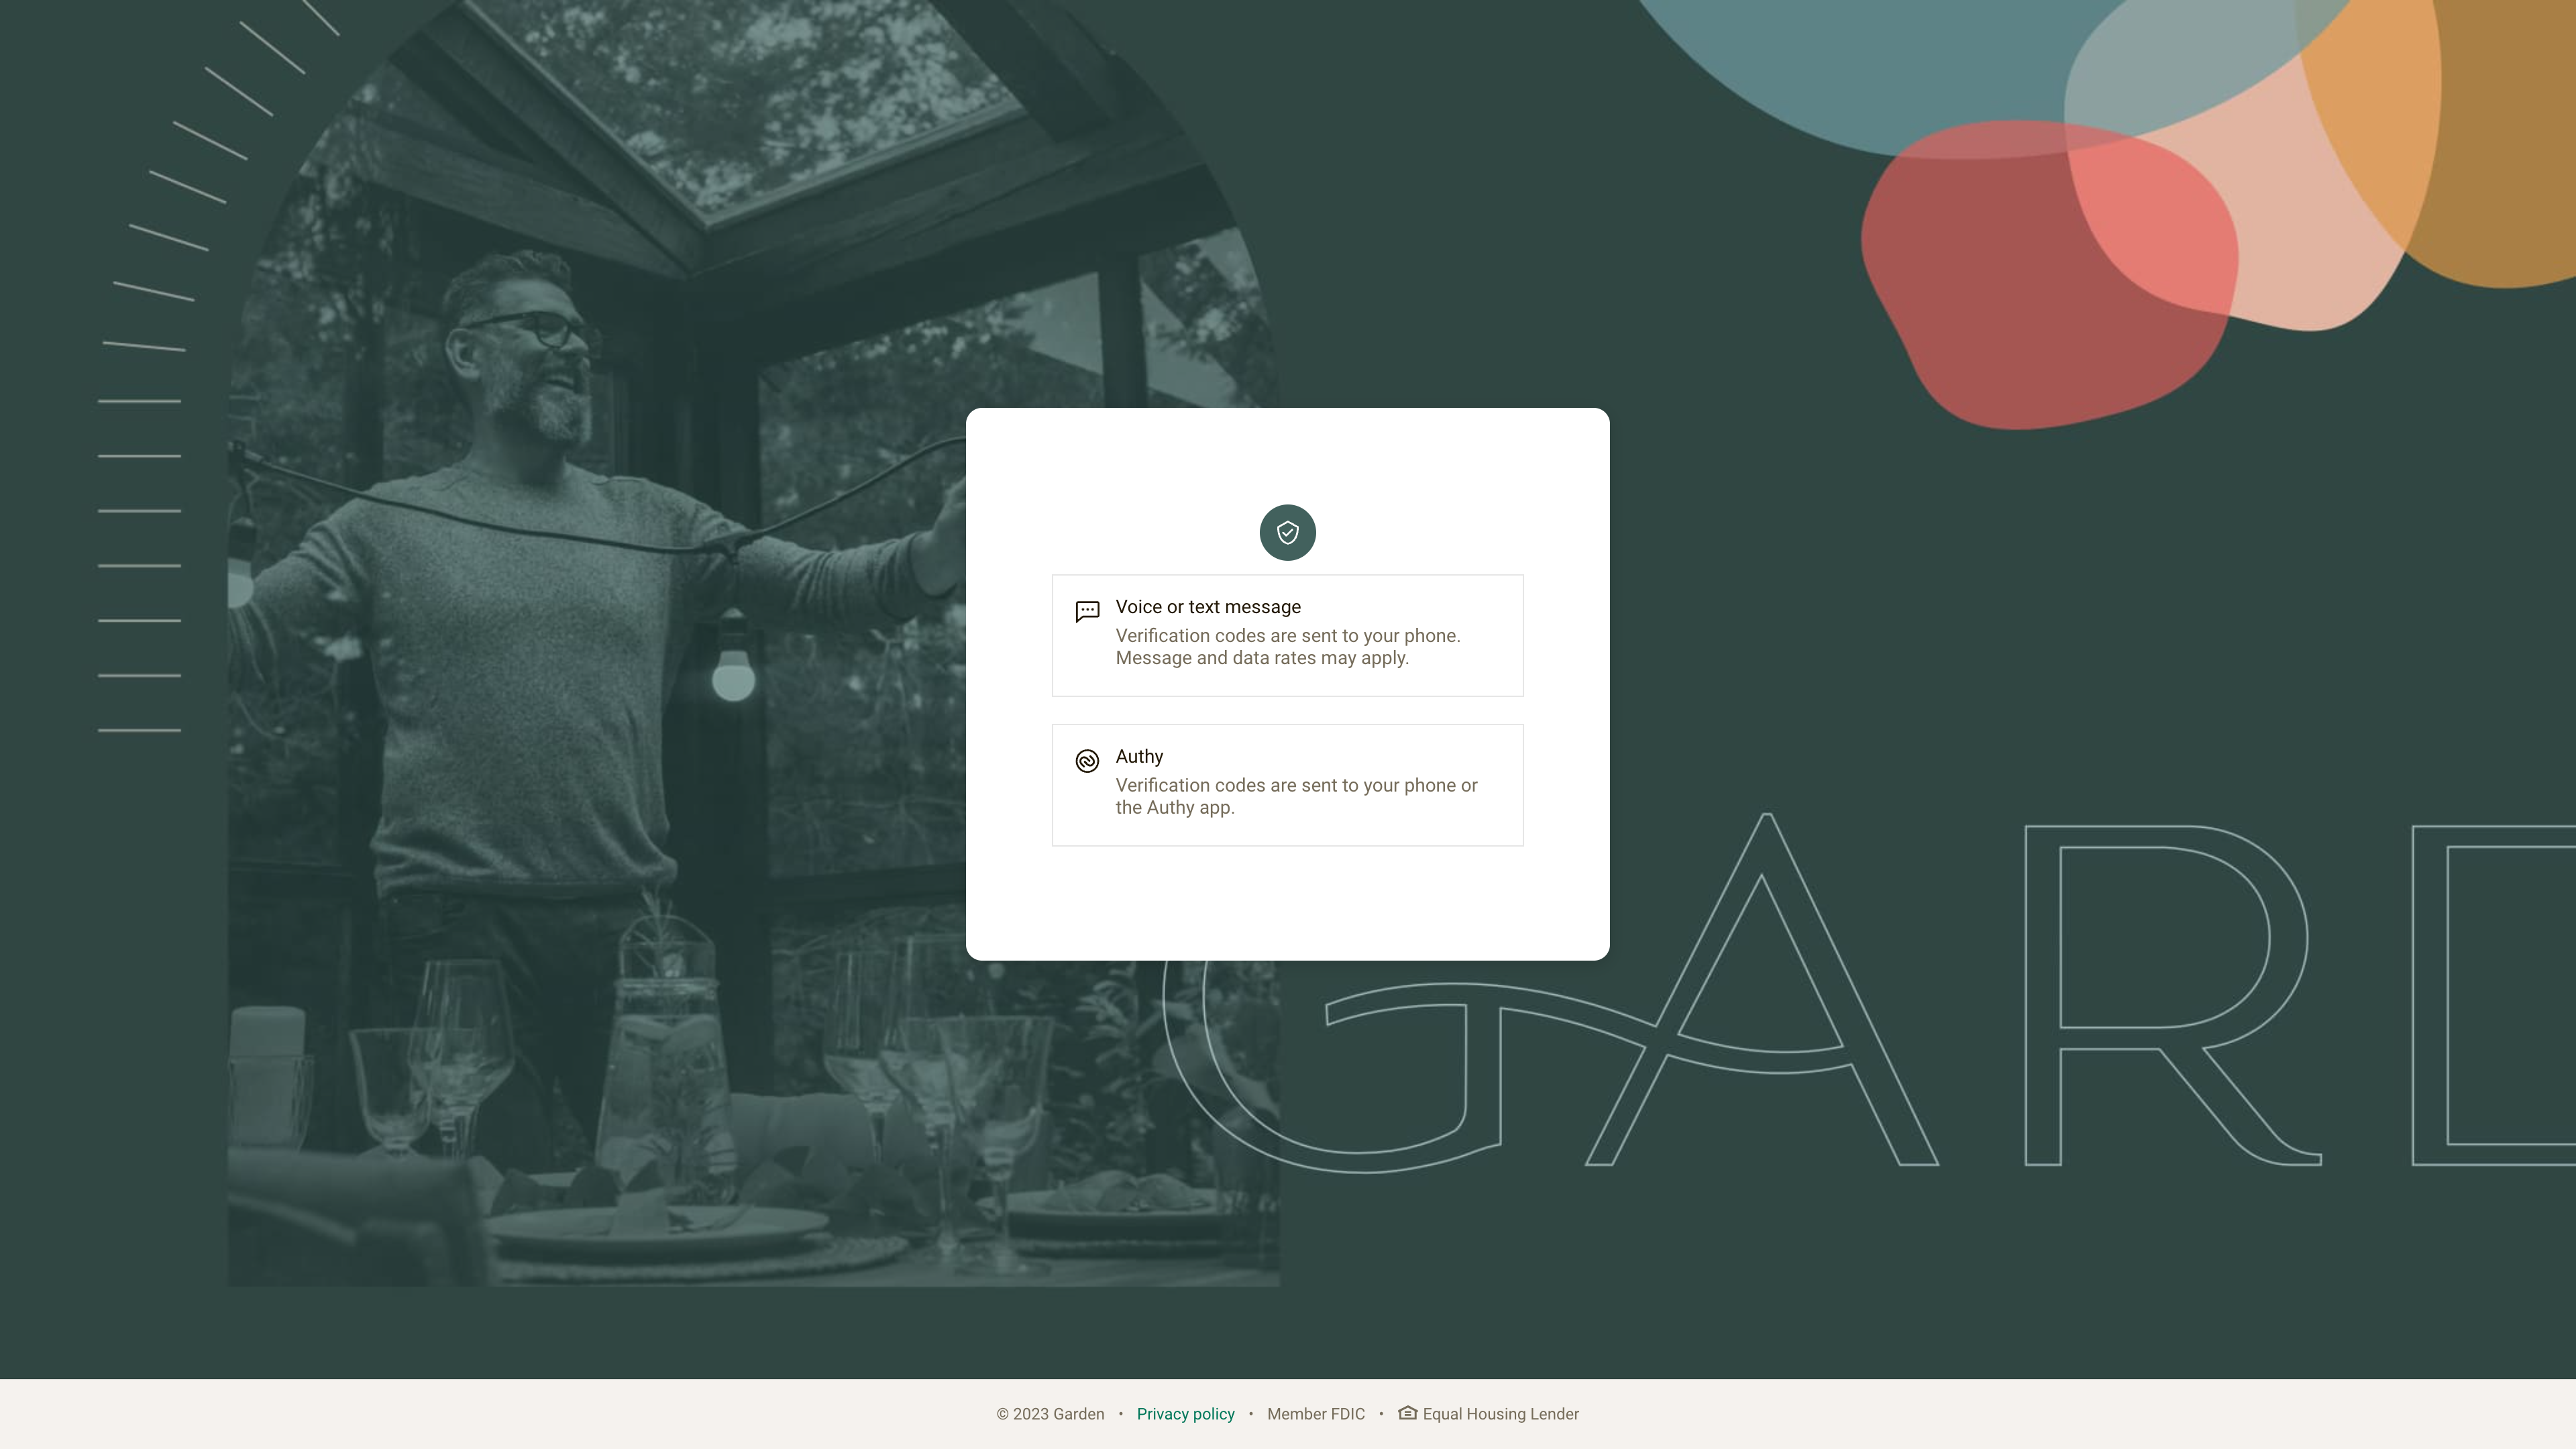
In the Protect your account with 2-step verification page, press the Get started button.
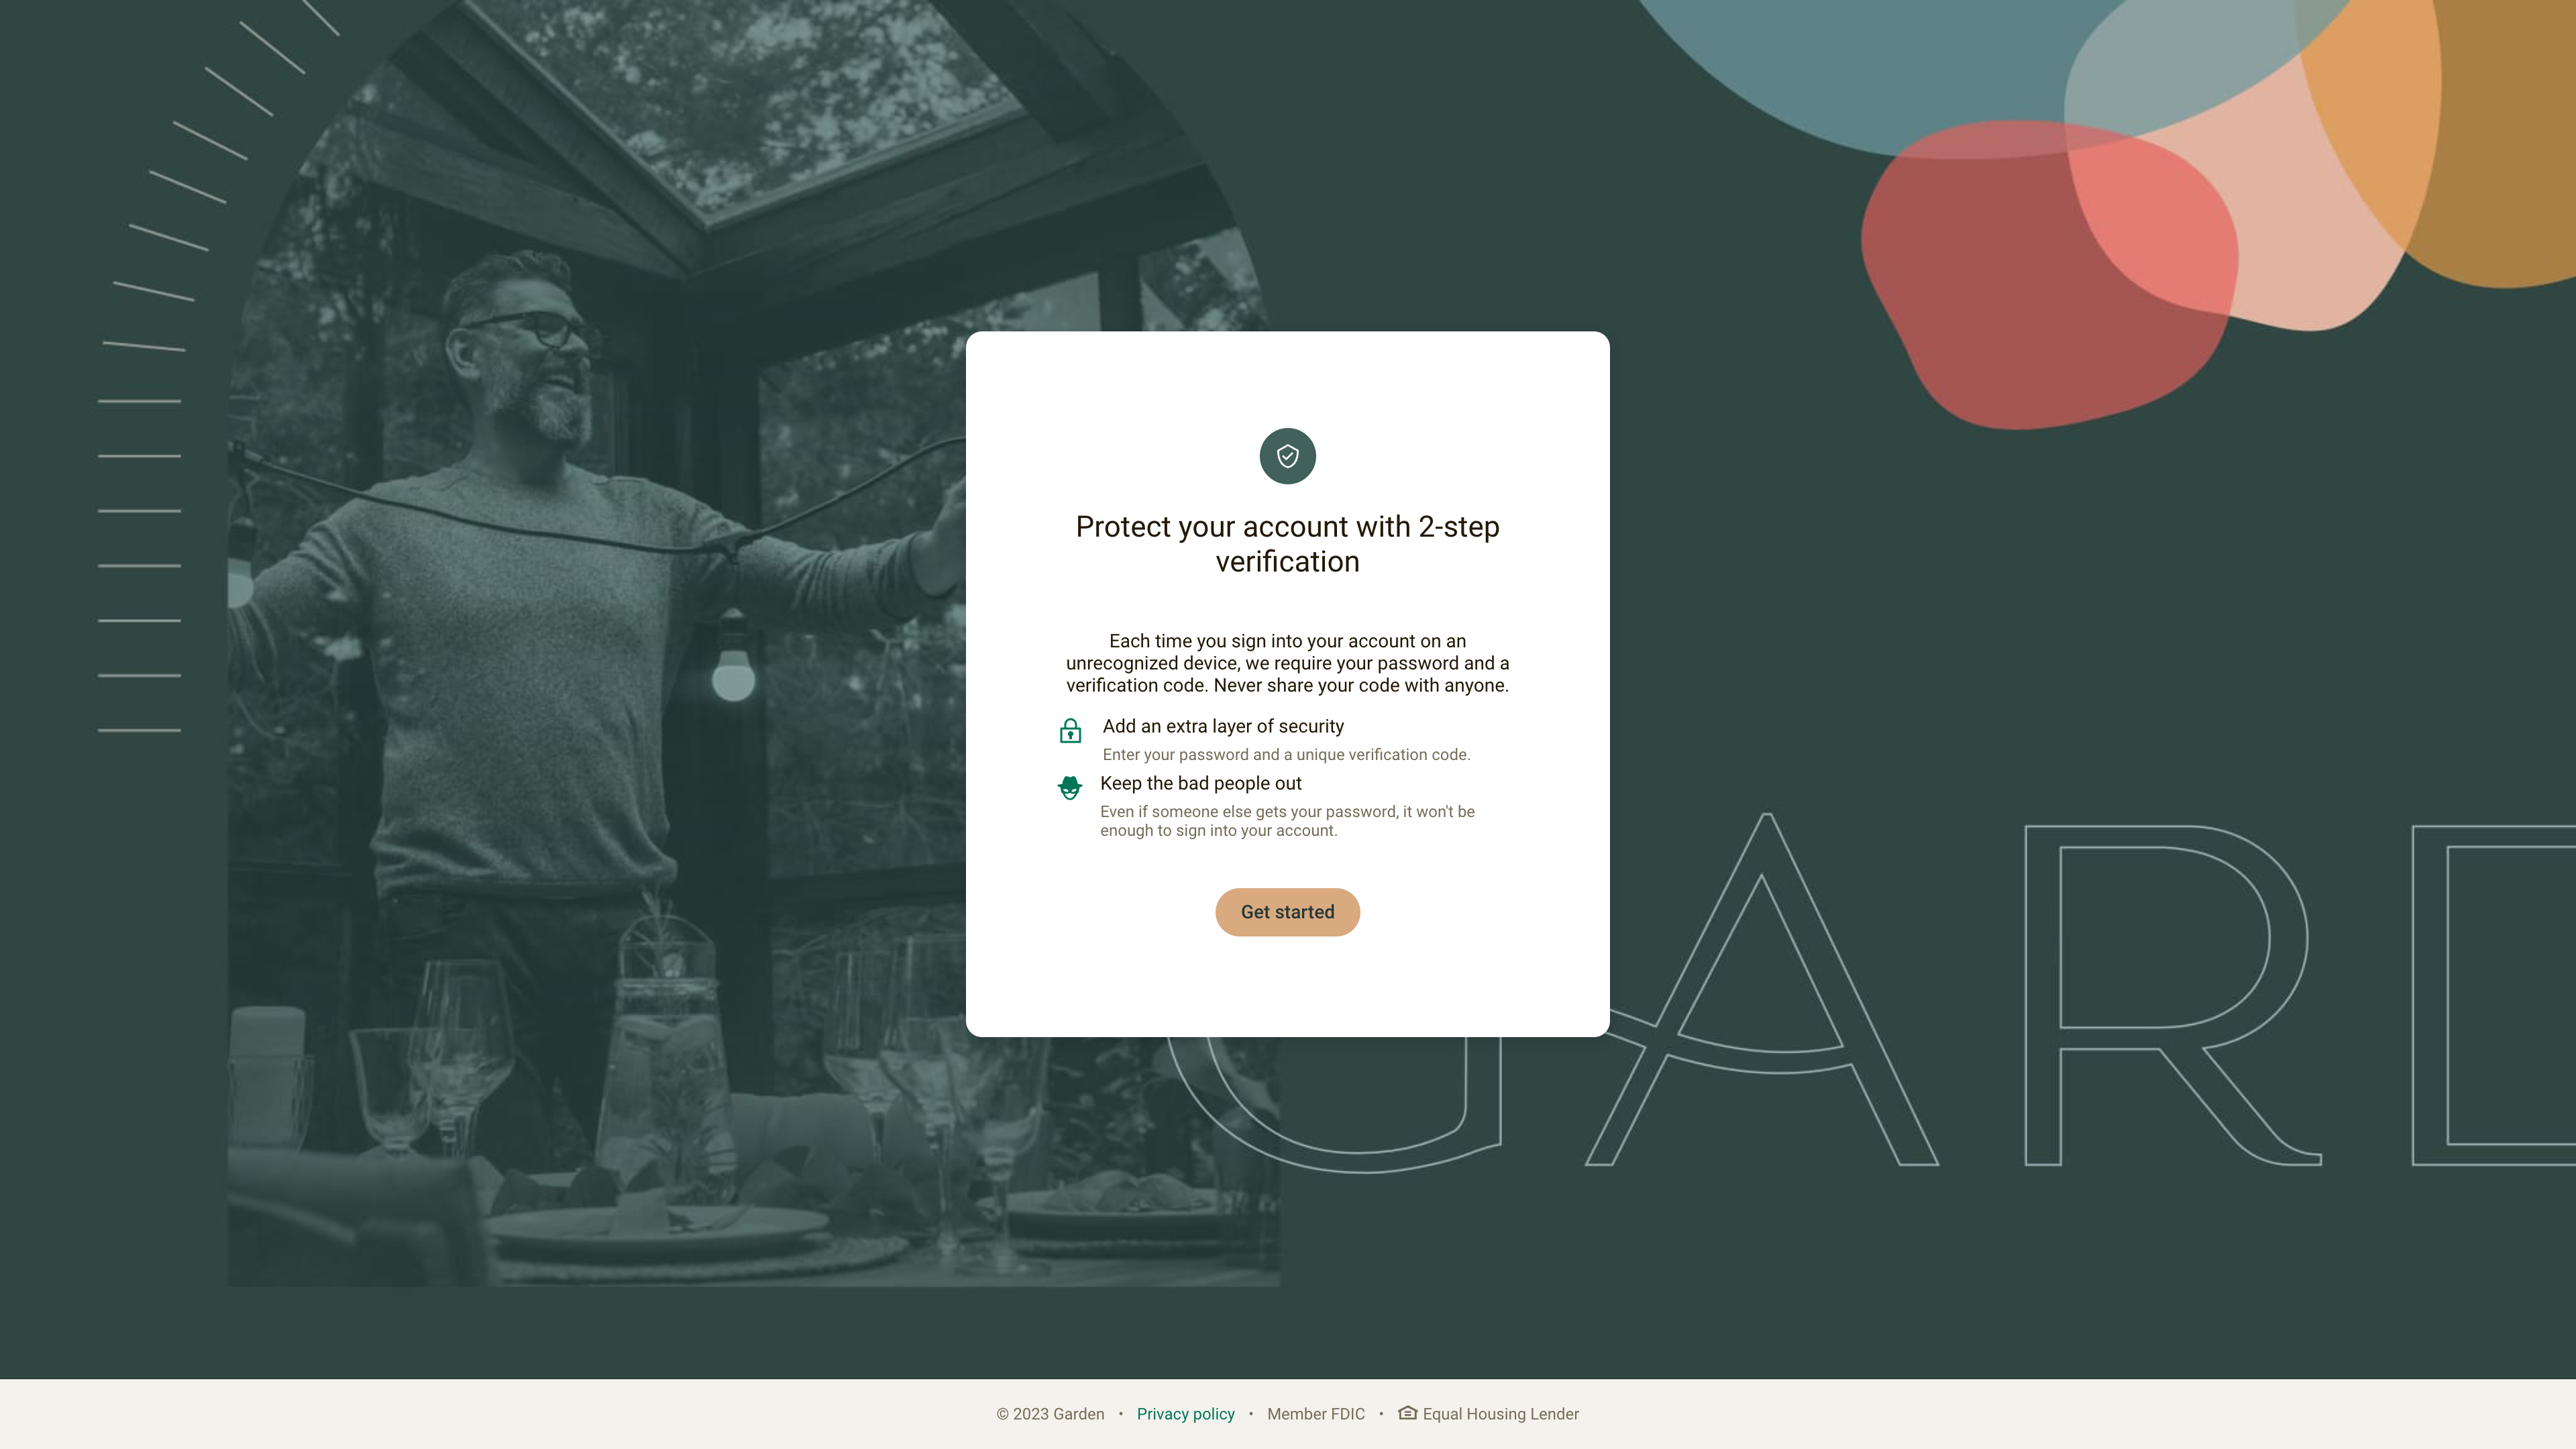
Select an option to specify your preferred 2FA verification method.
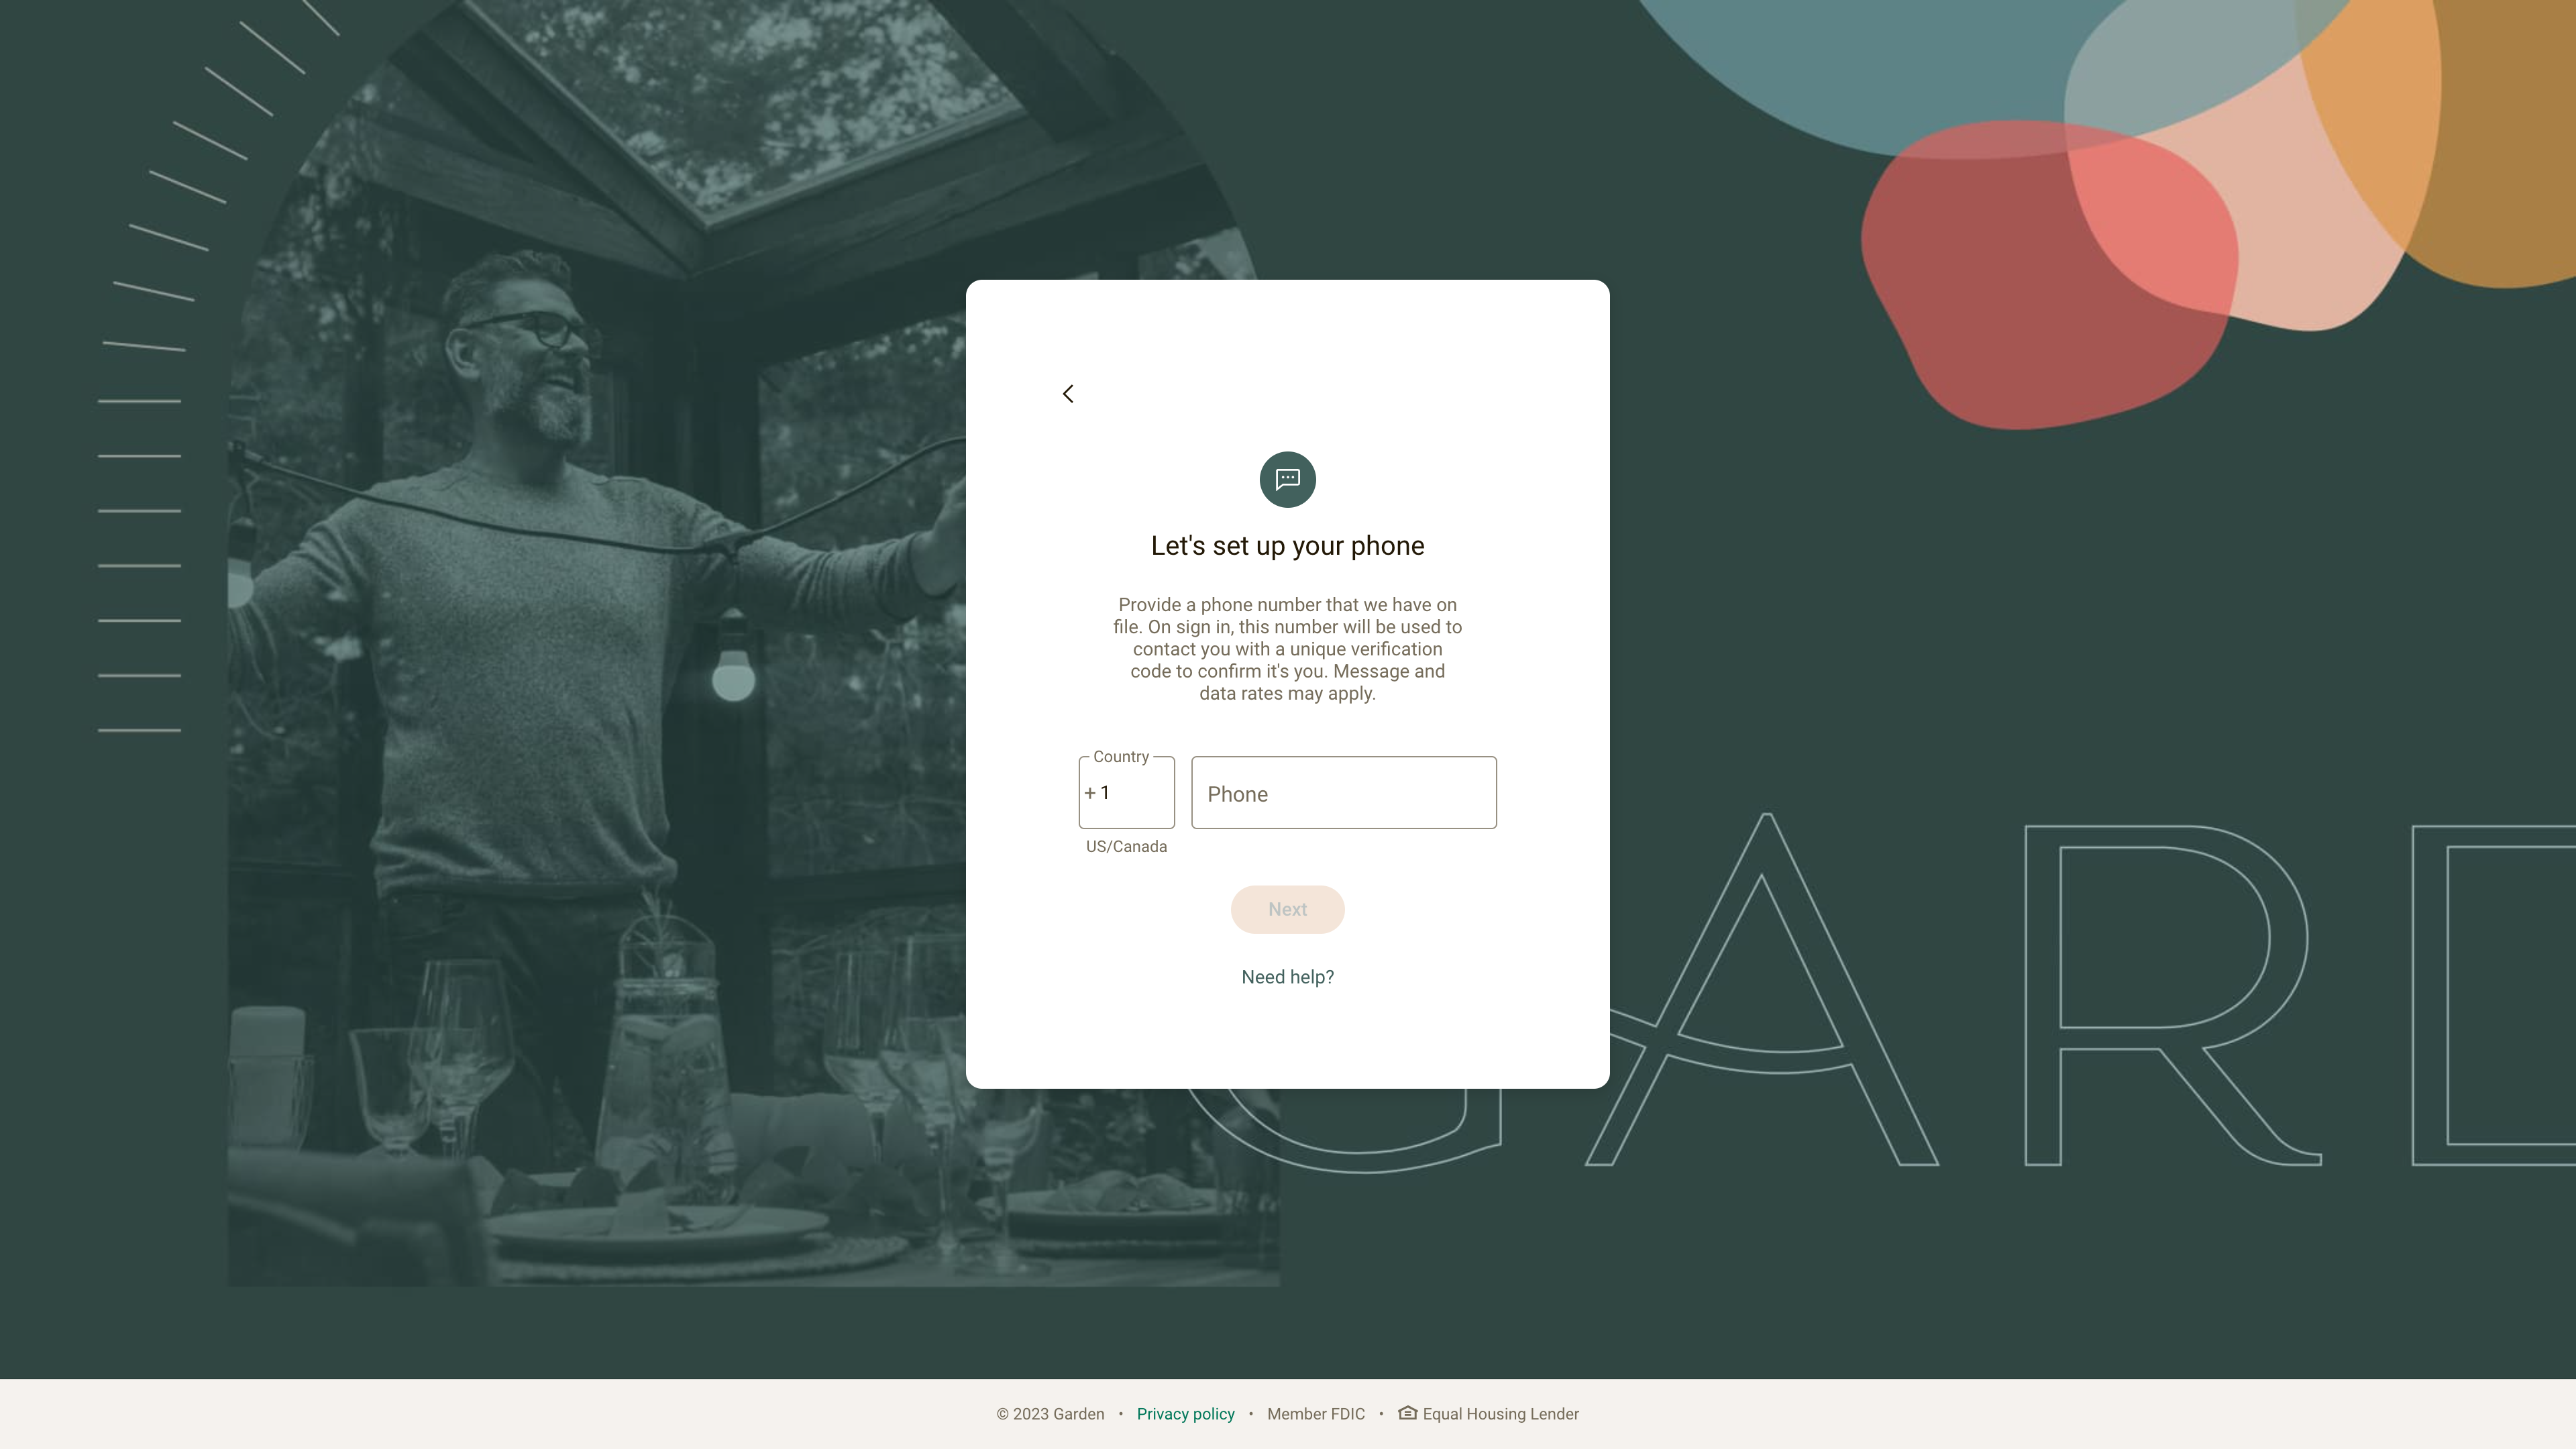
Enter the phone number you previously entered in the Before you continue page, then press the Next button.
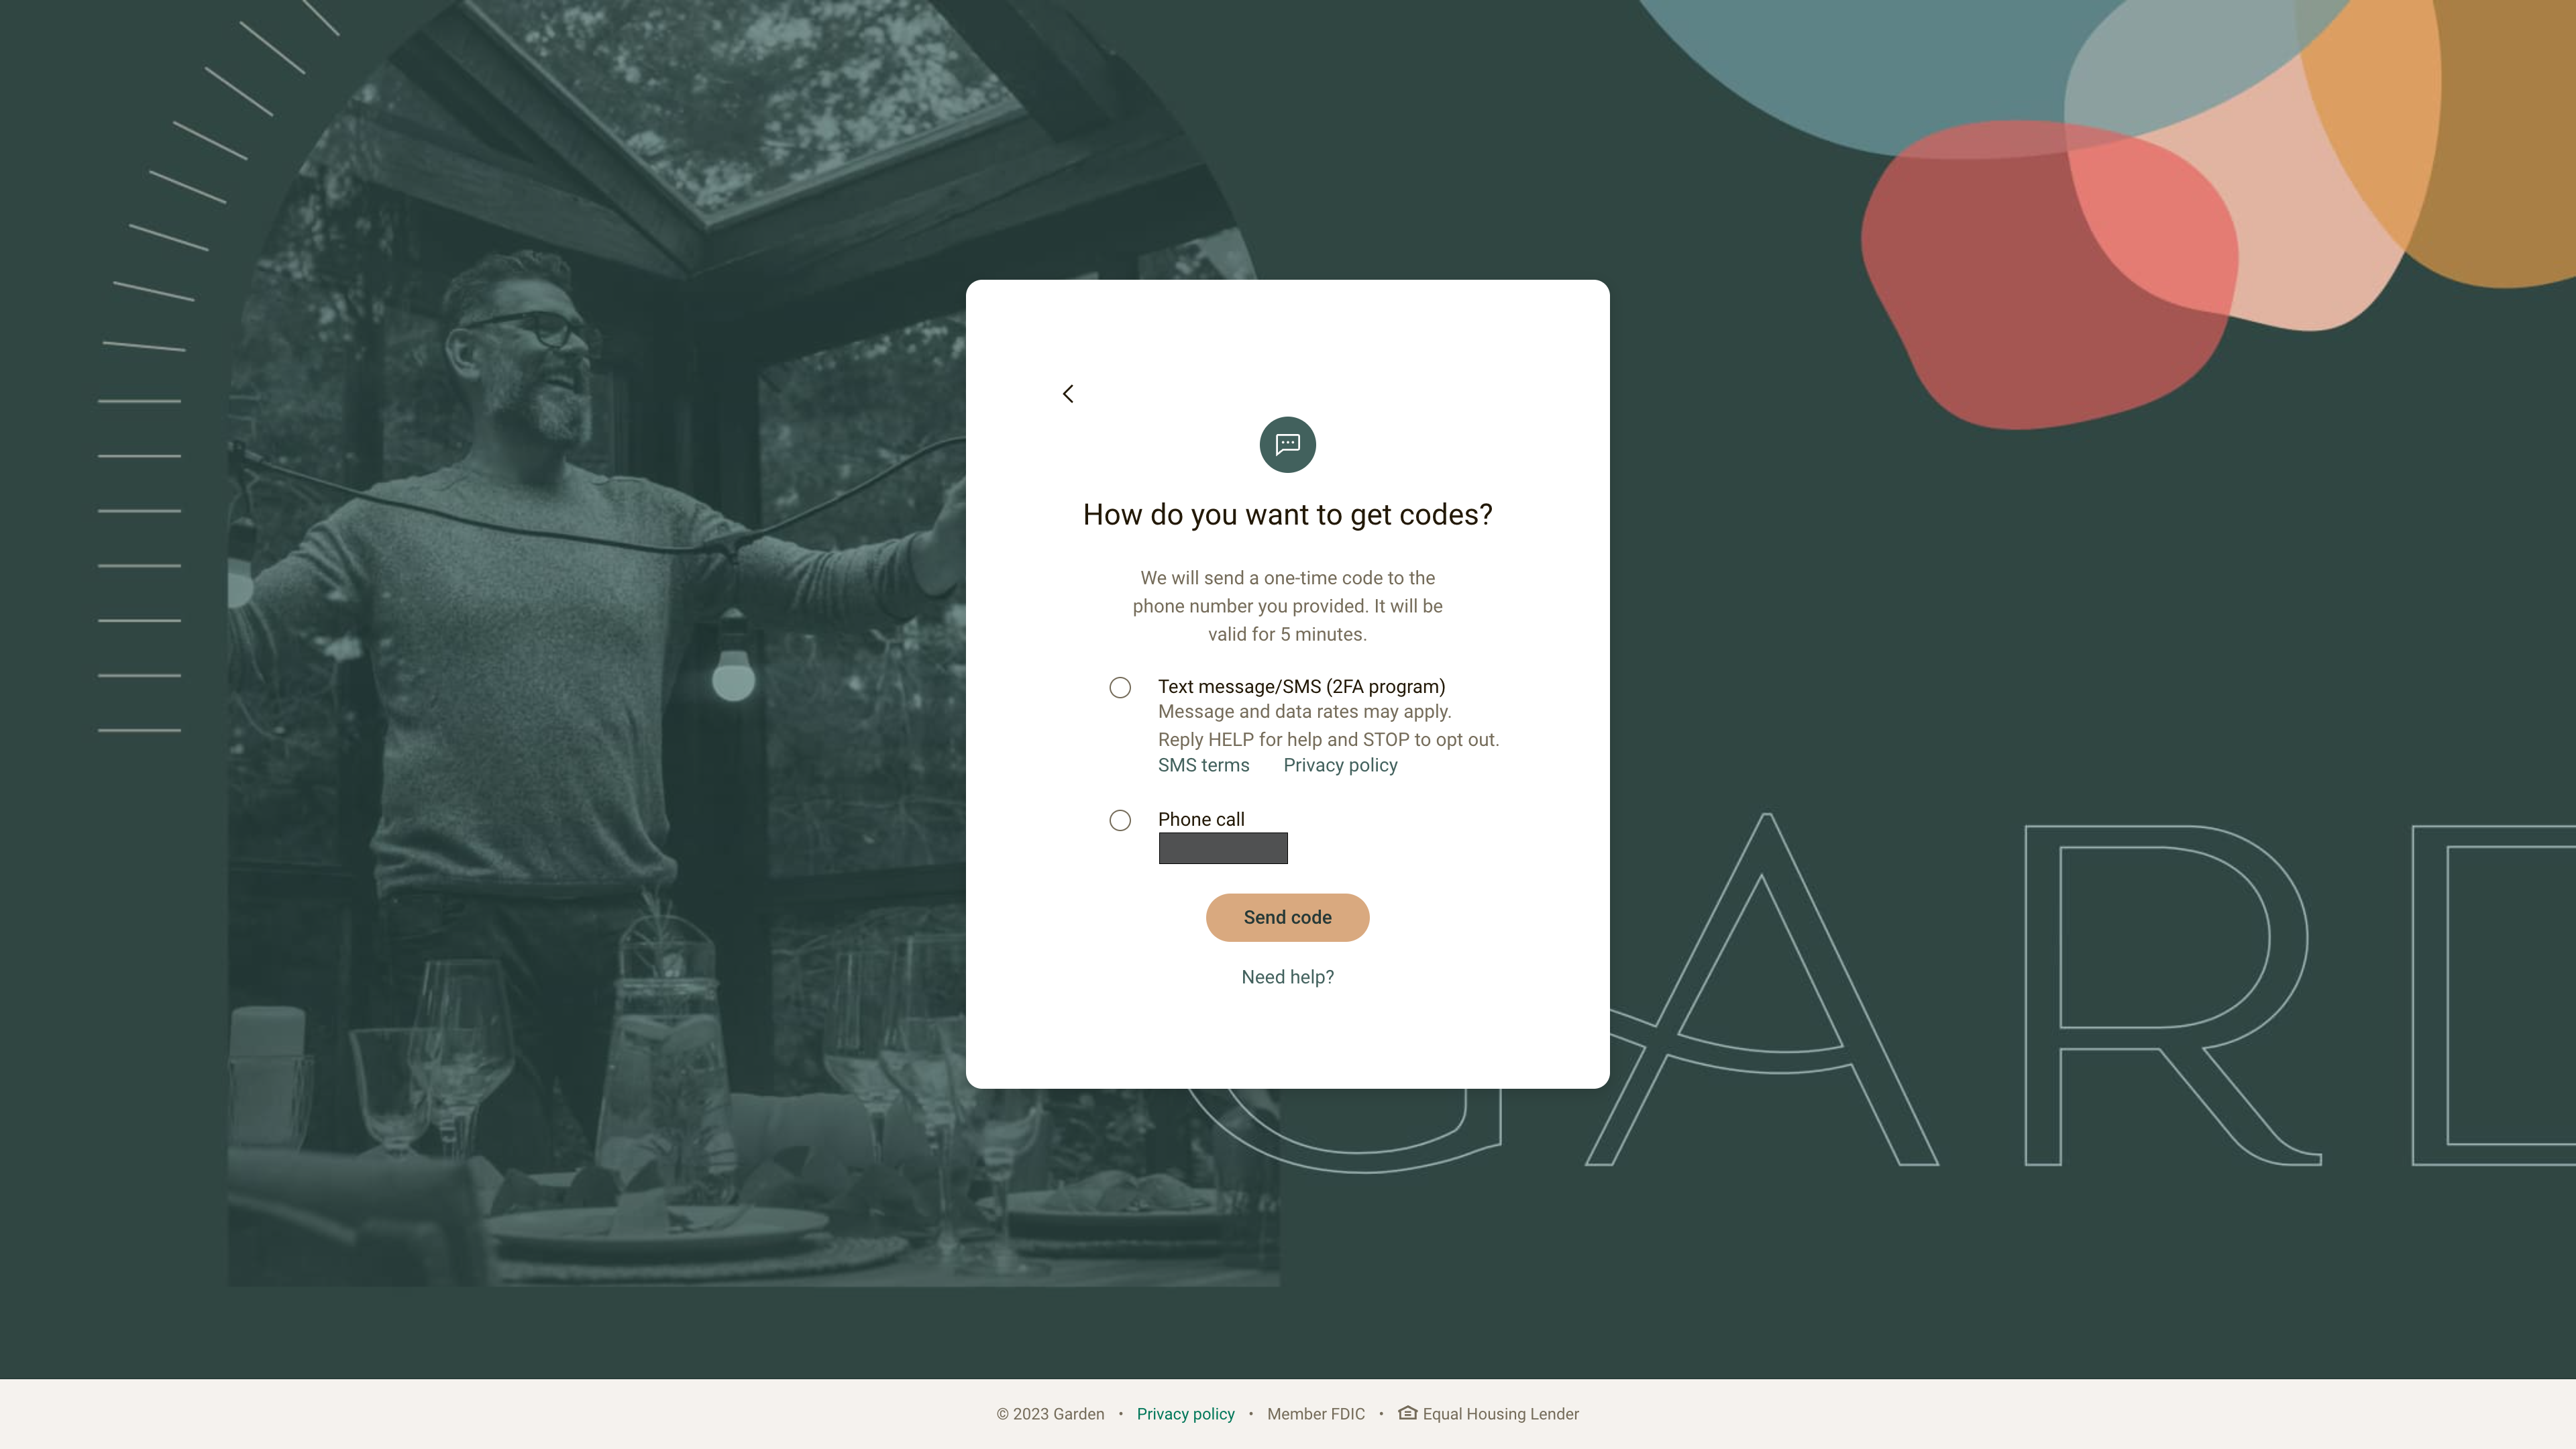
Select your preferred 2FA code retrieval method, then press the Send code button.
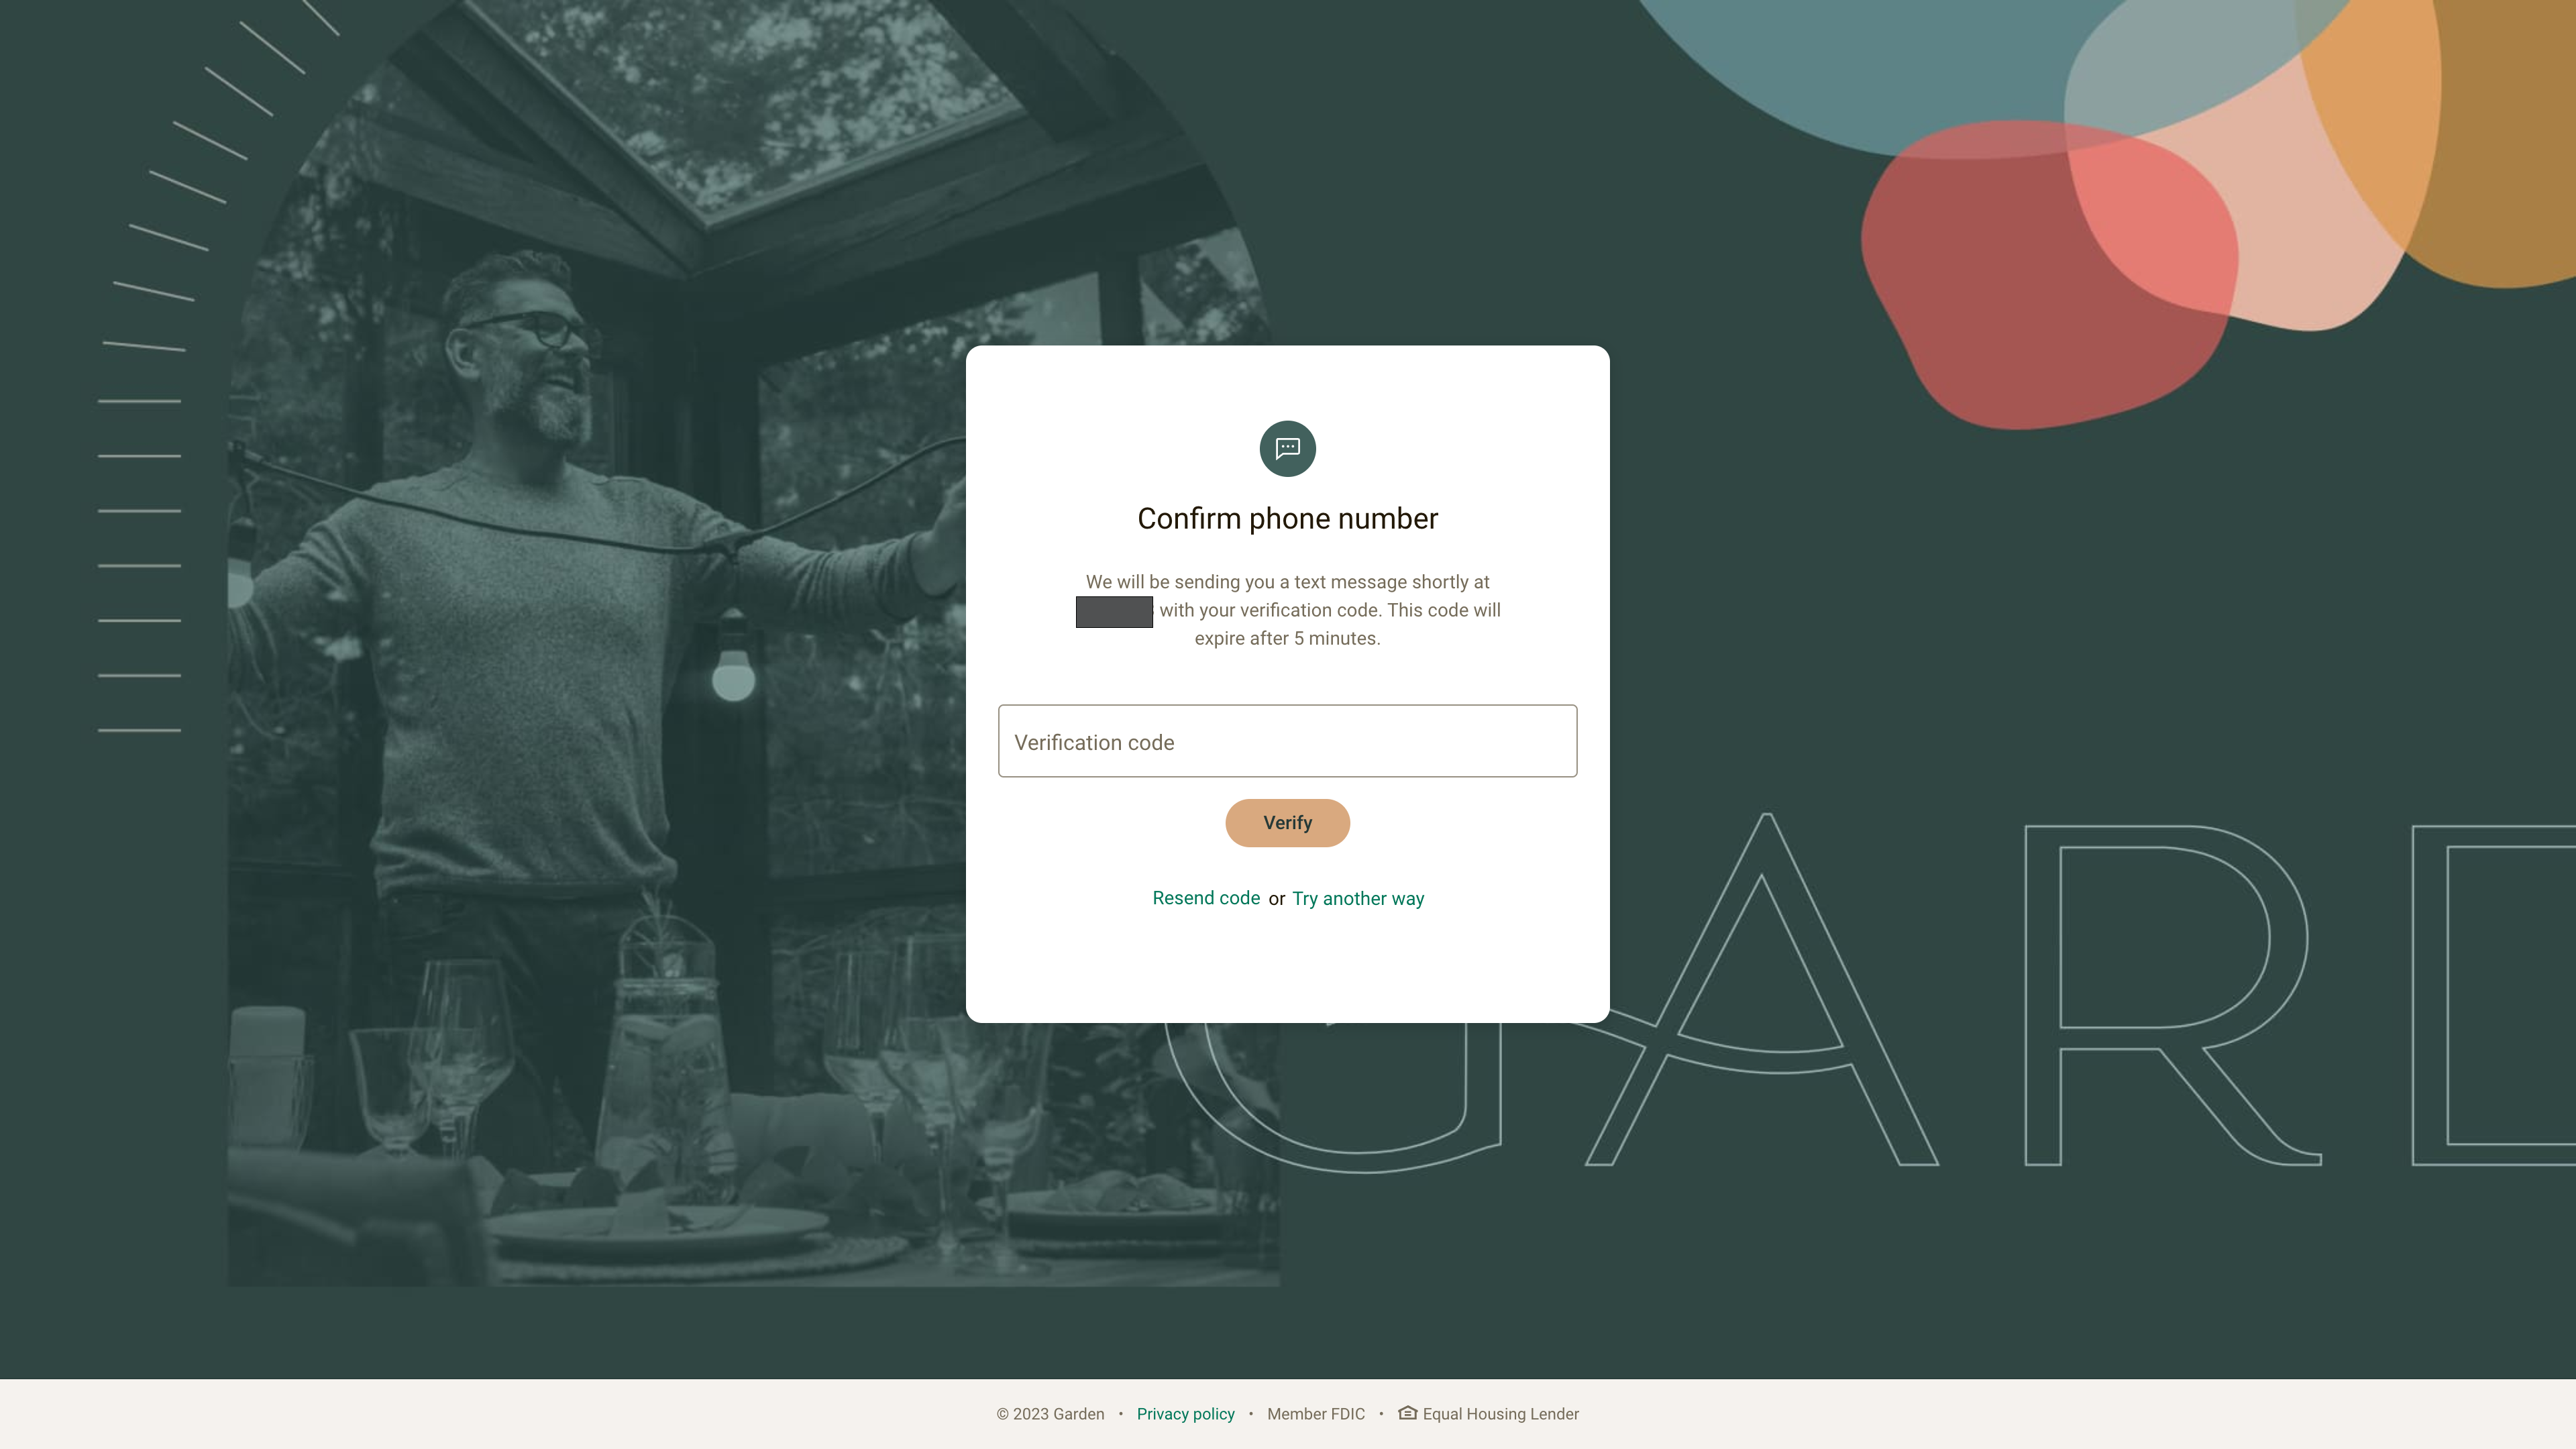
Enter the one-time 2FA code that you just received, press the Verify button, then press the Done button.
After verifying, review the EULA, check the checkbox, then press the Accept button.
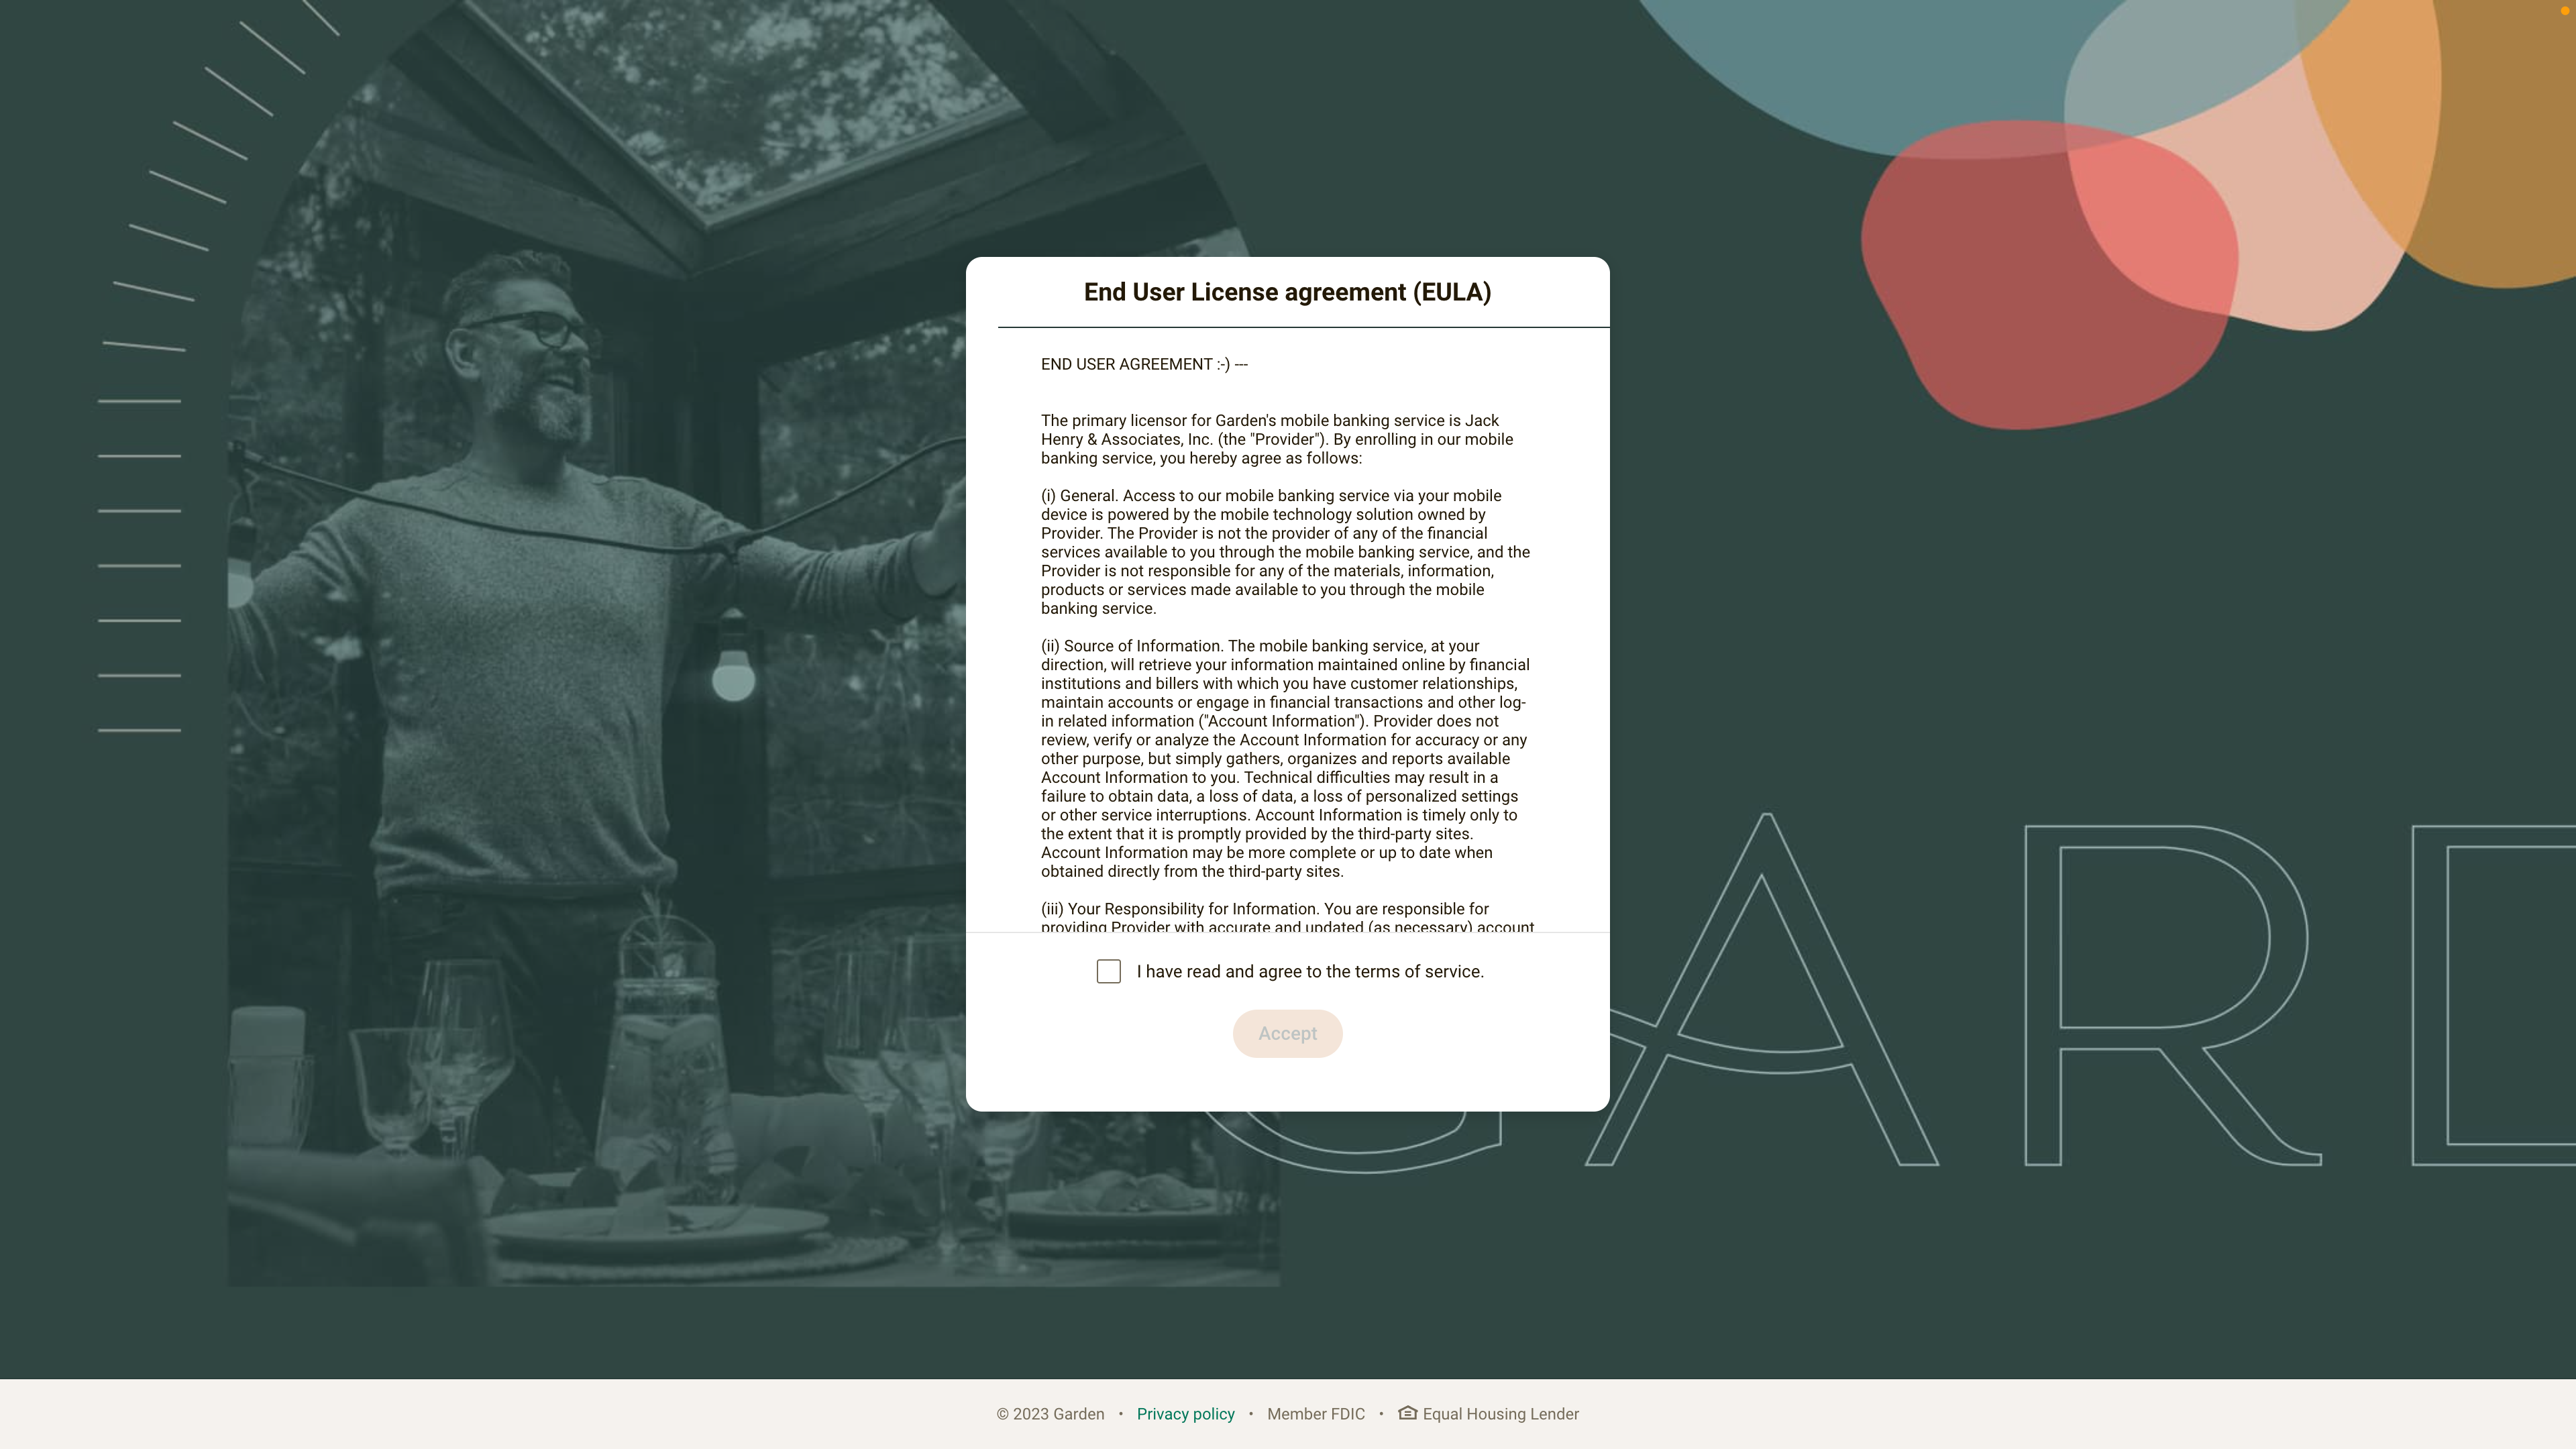
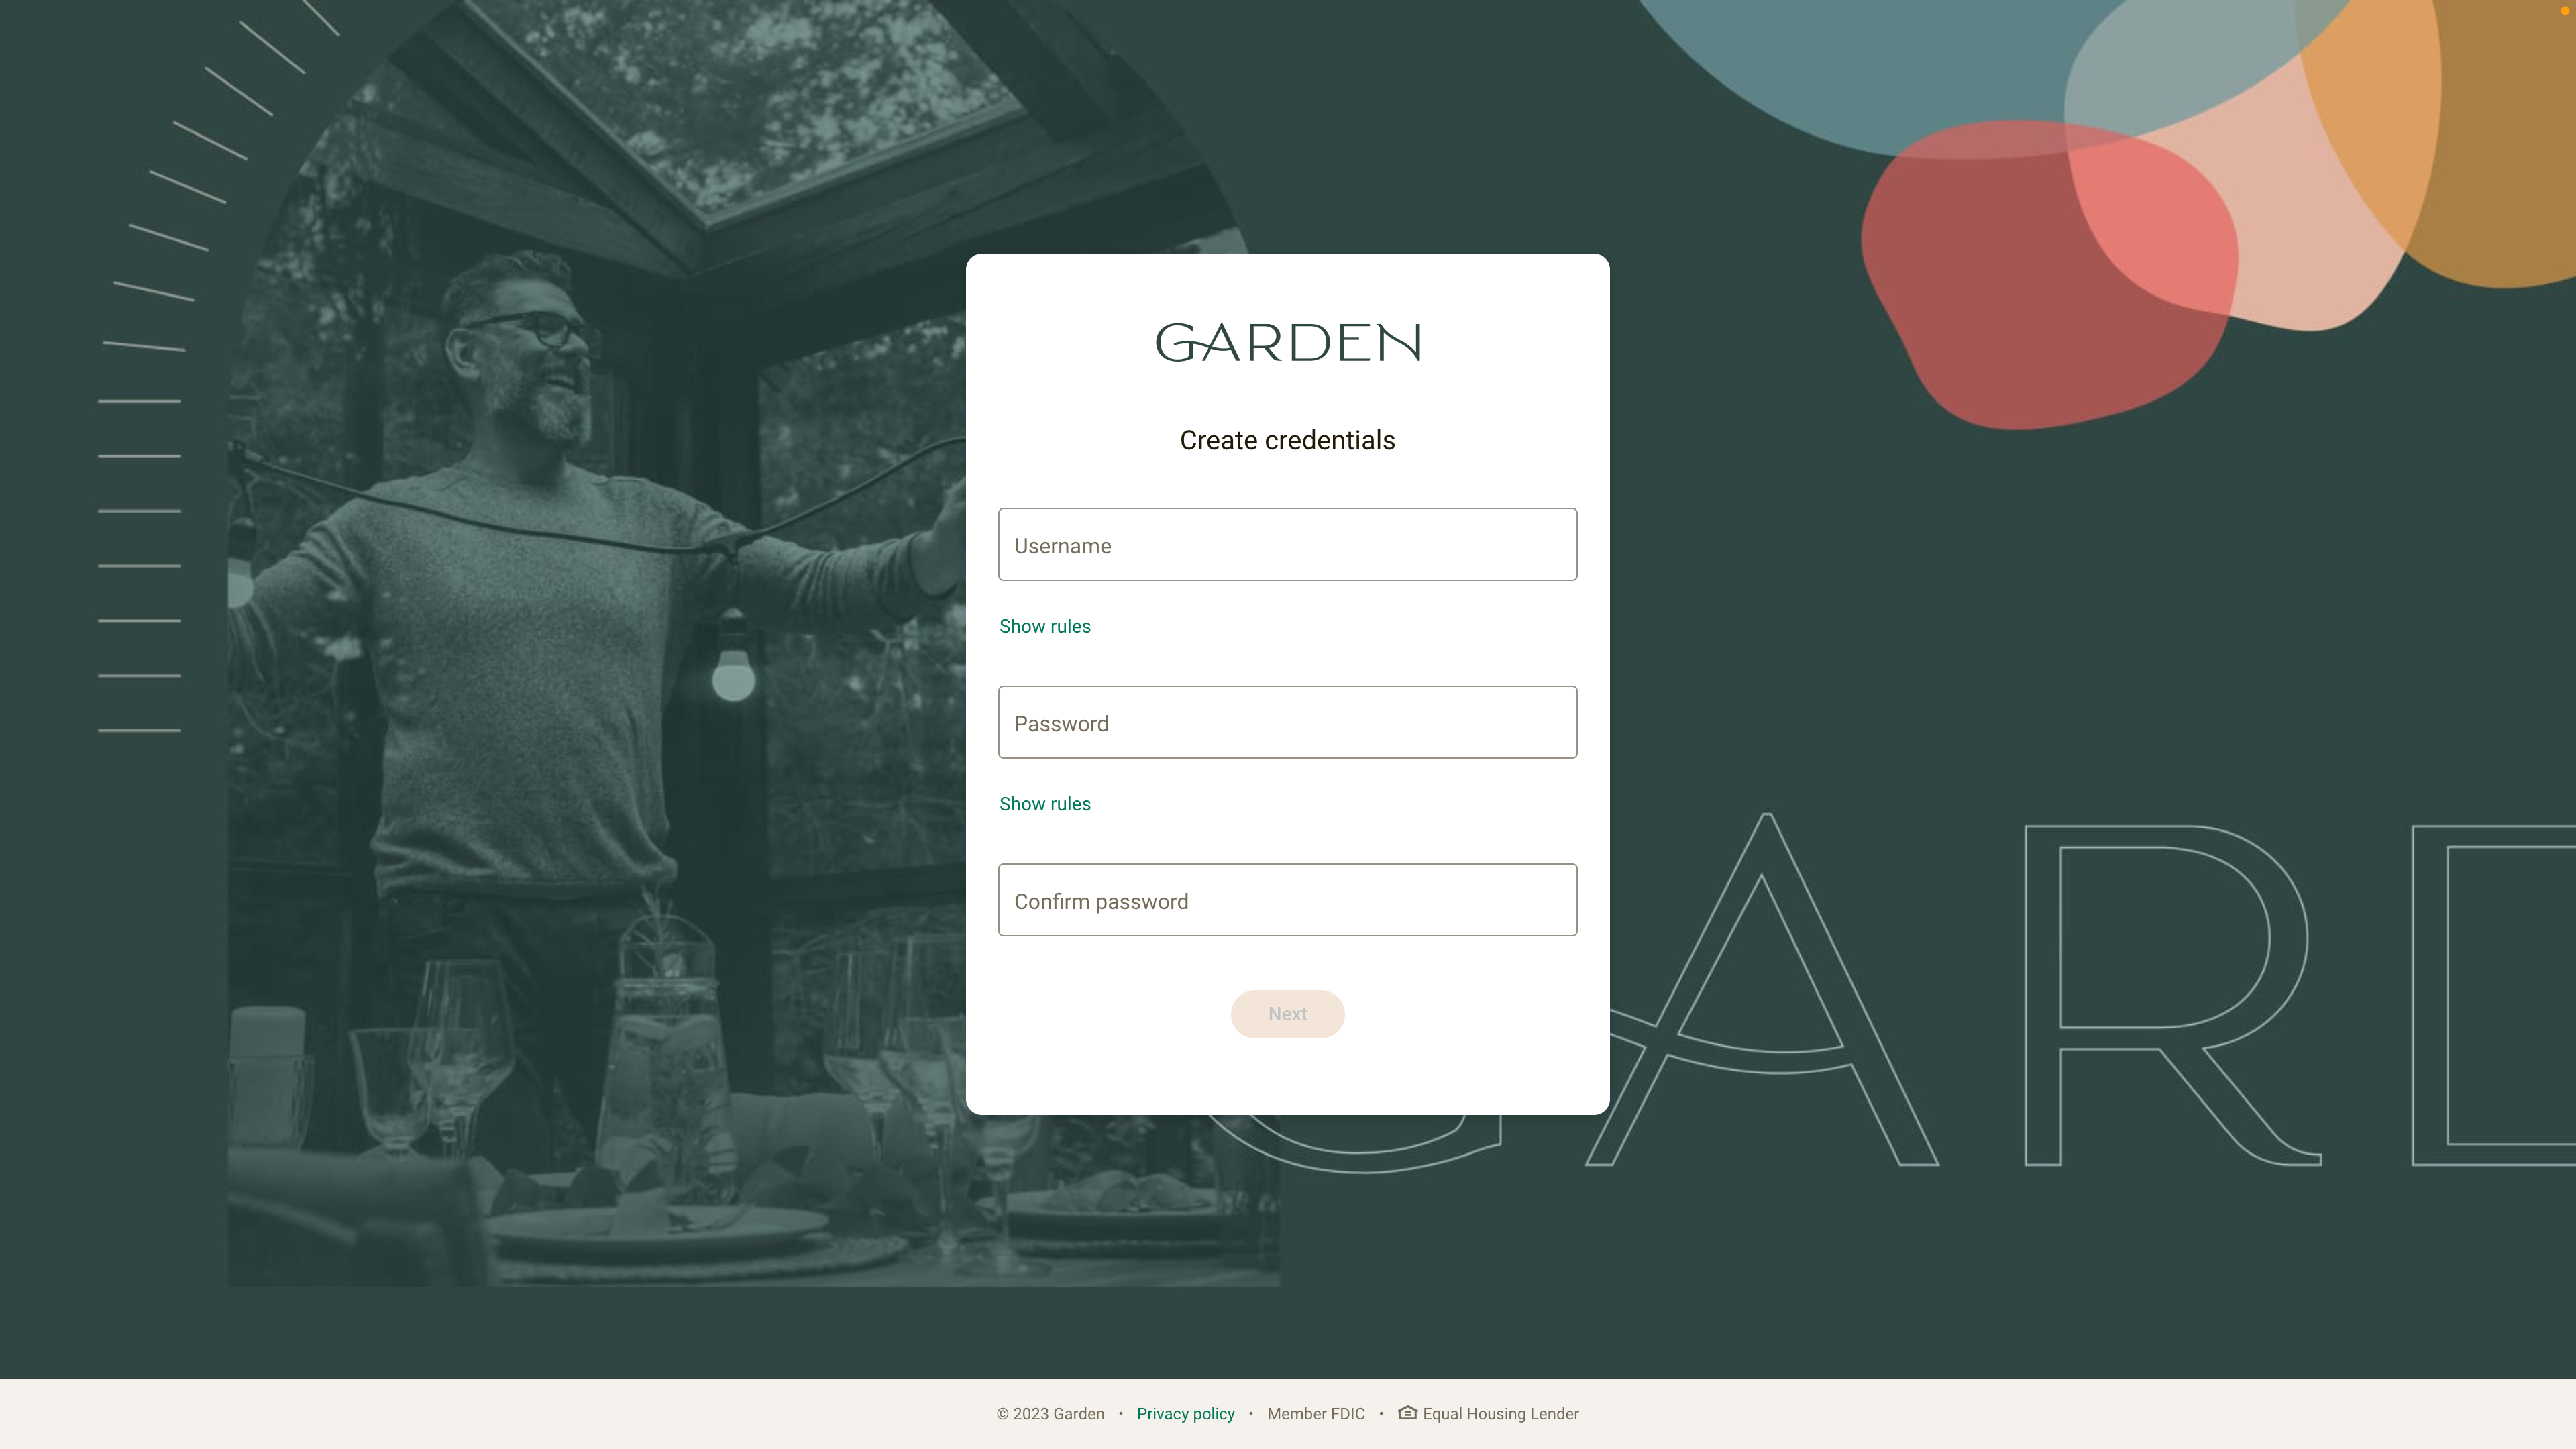
Next, enter a username and password, confirm the password, then press the Next button.
Now that your test user has been enrolled in the Garden demo institution, you’re ready to return to the developer dashboard and confirm enrollment.
Confirm enrollment
Next, let’s confirm that your test user is enrolled in the Garden demo institution.
Open the developer dashboard in your browser: https://jackhenry.dev/portal/dashboard
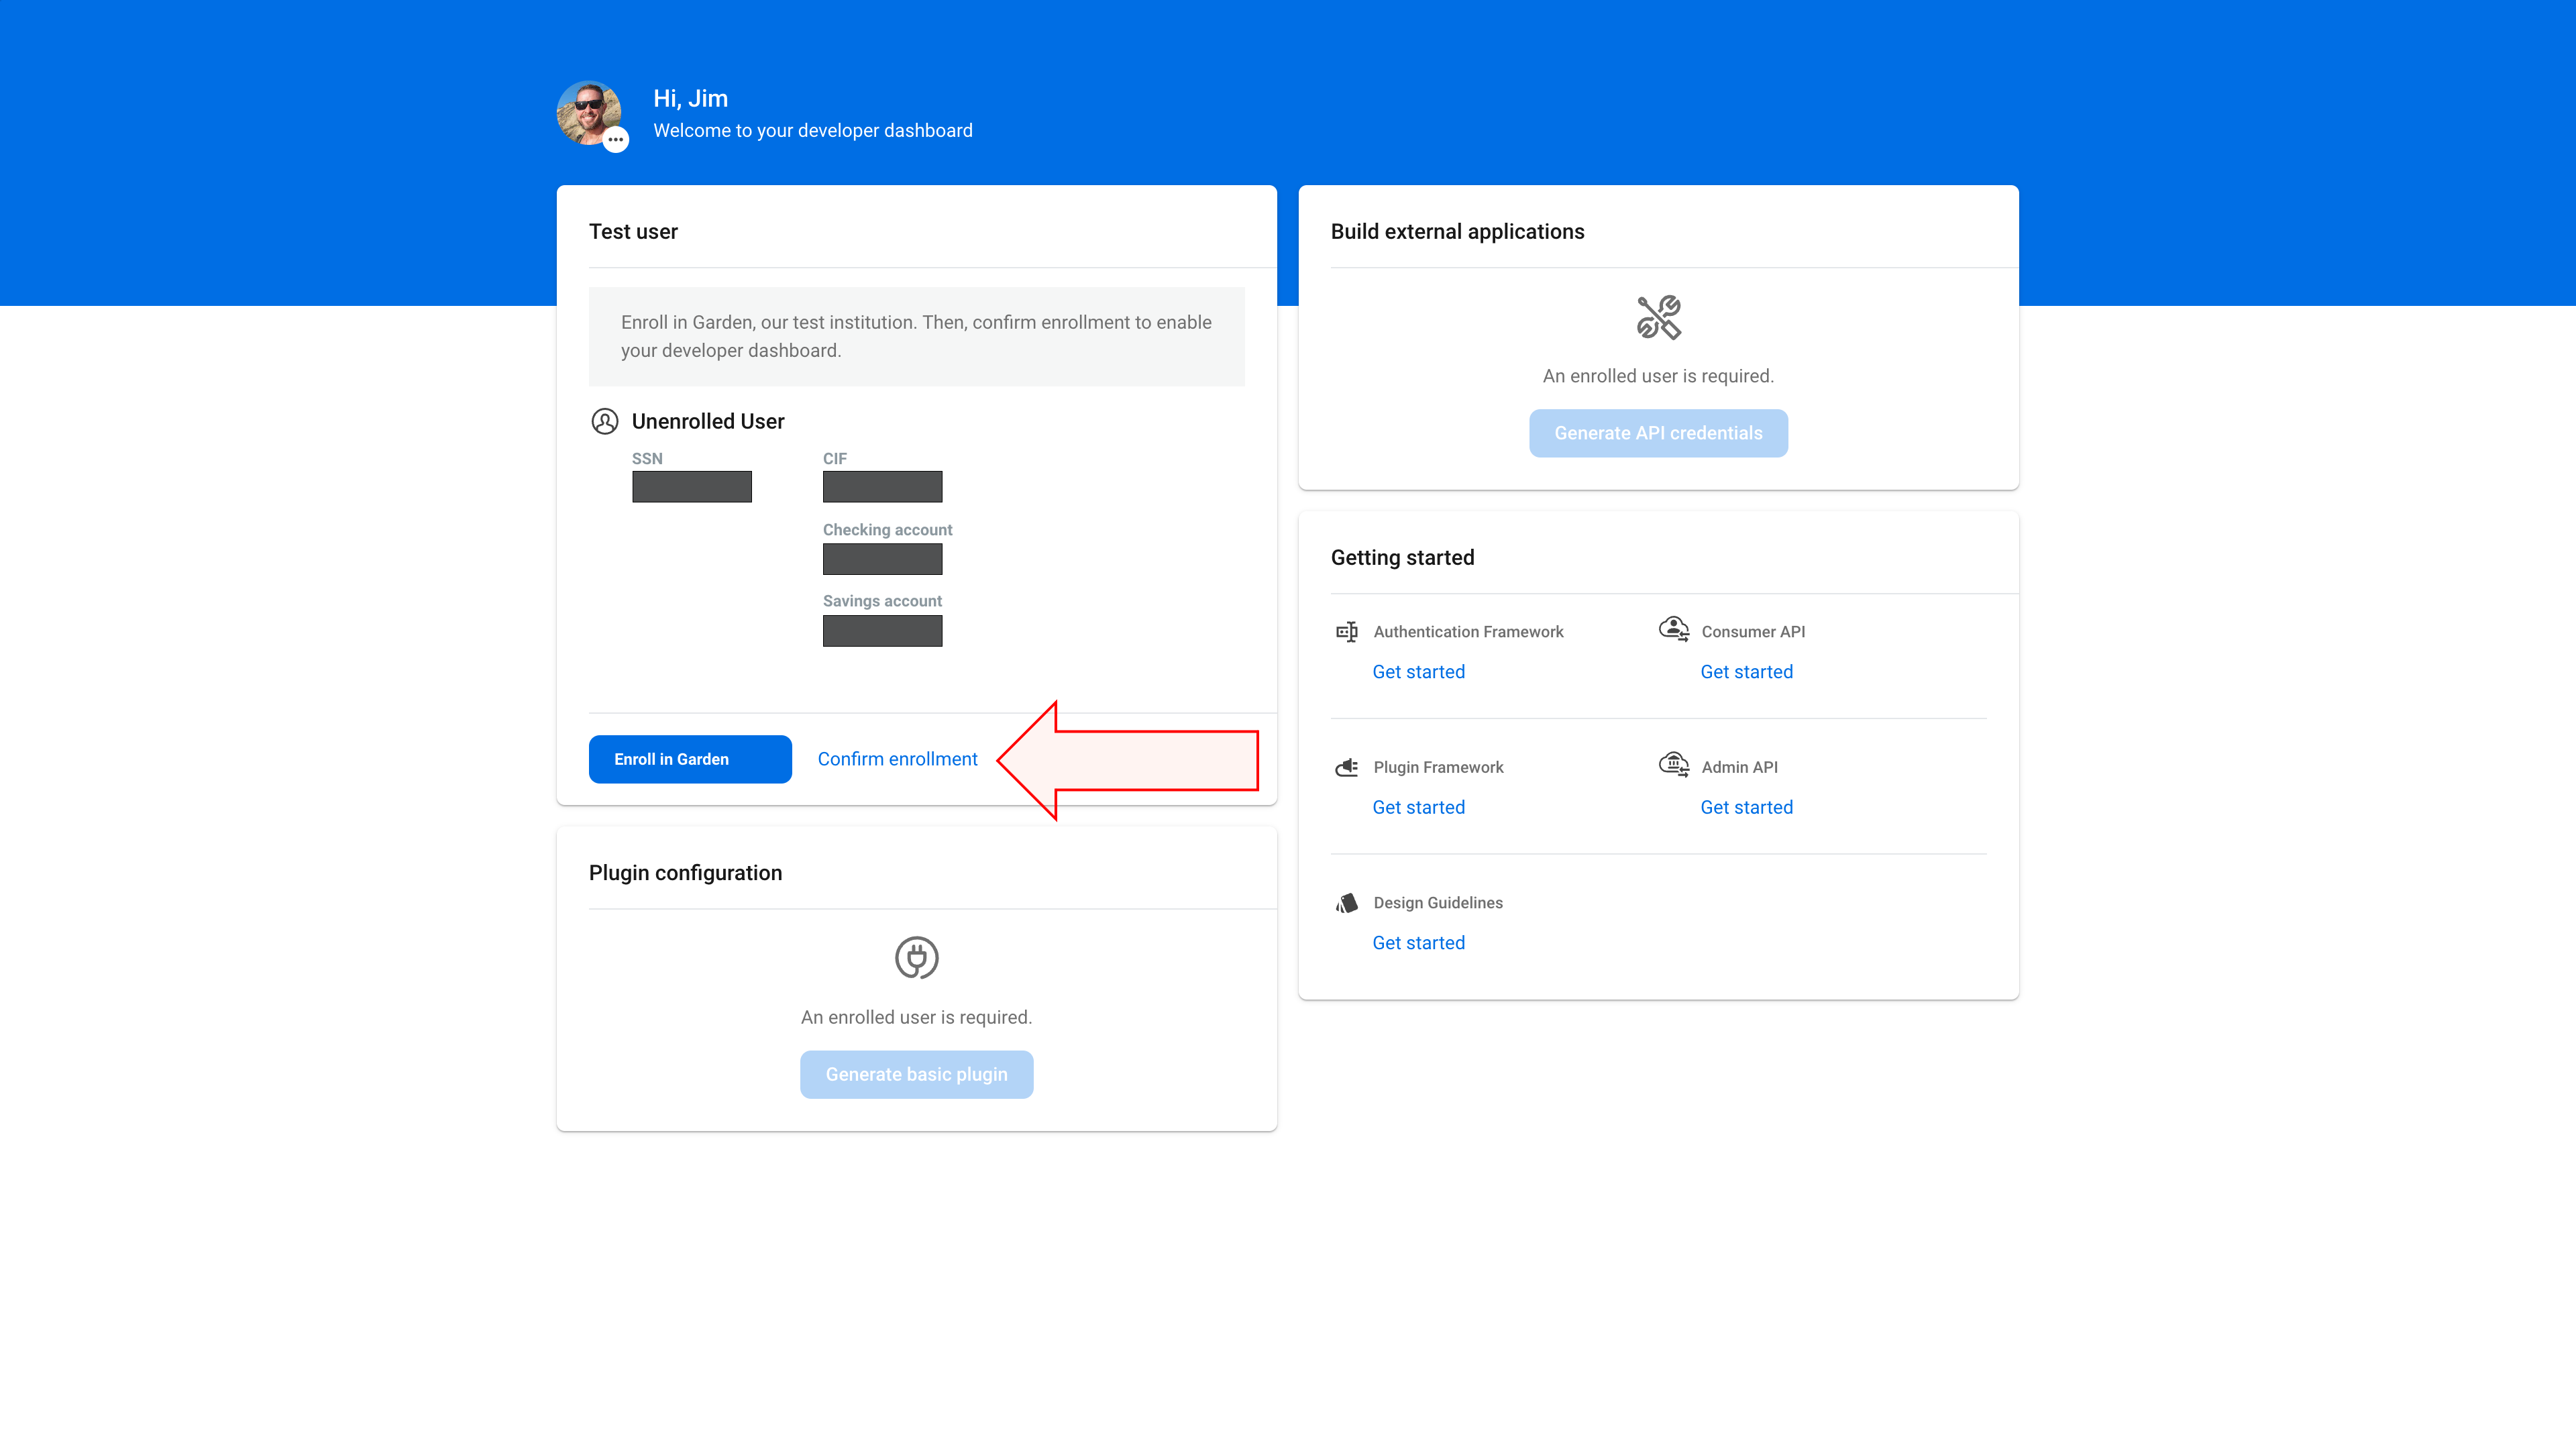
In the Test user card, press the Confirm enrollment button.
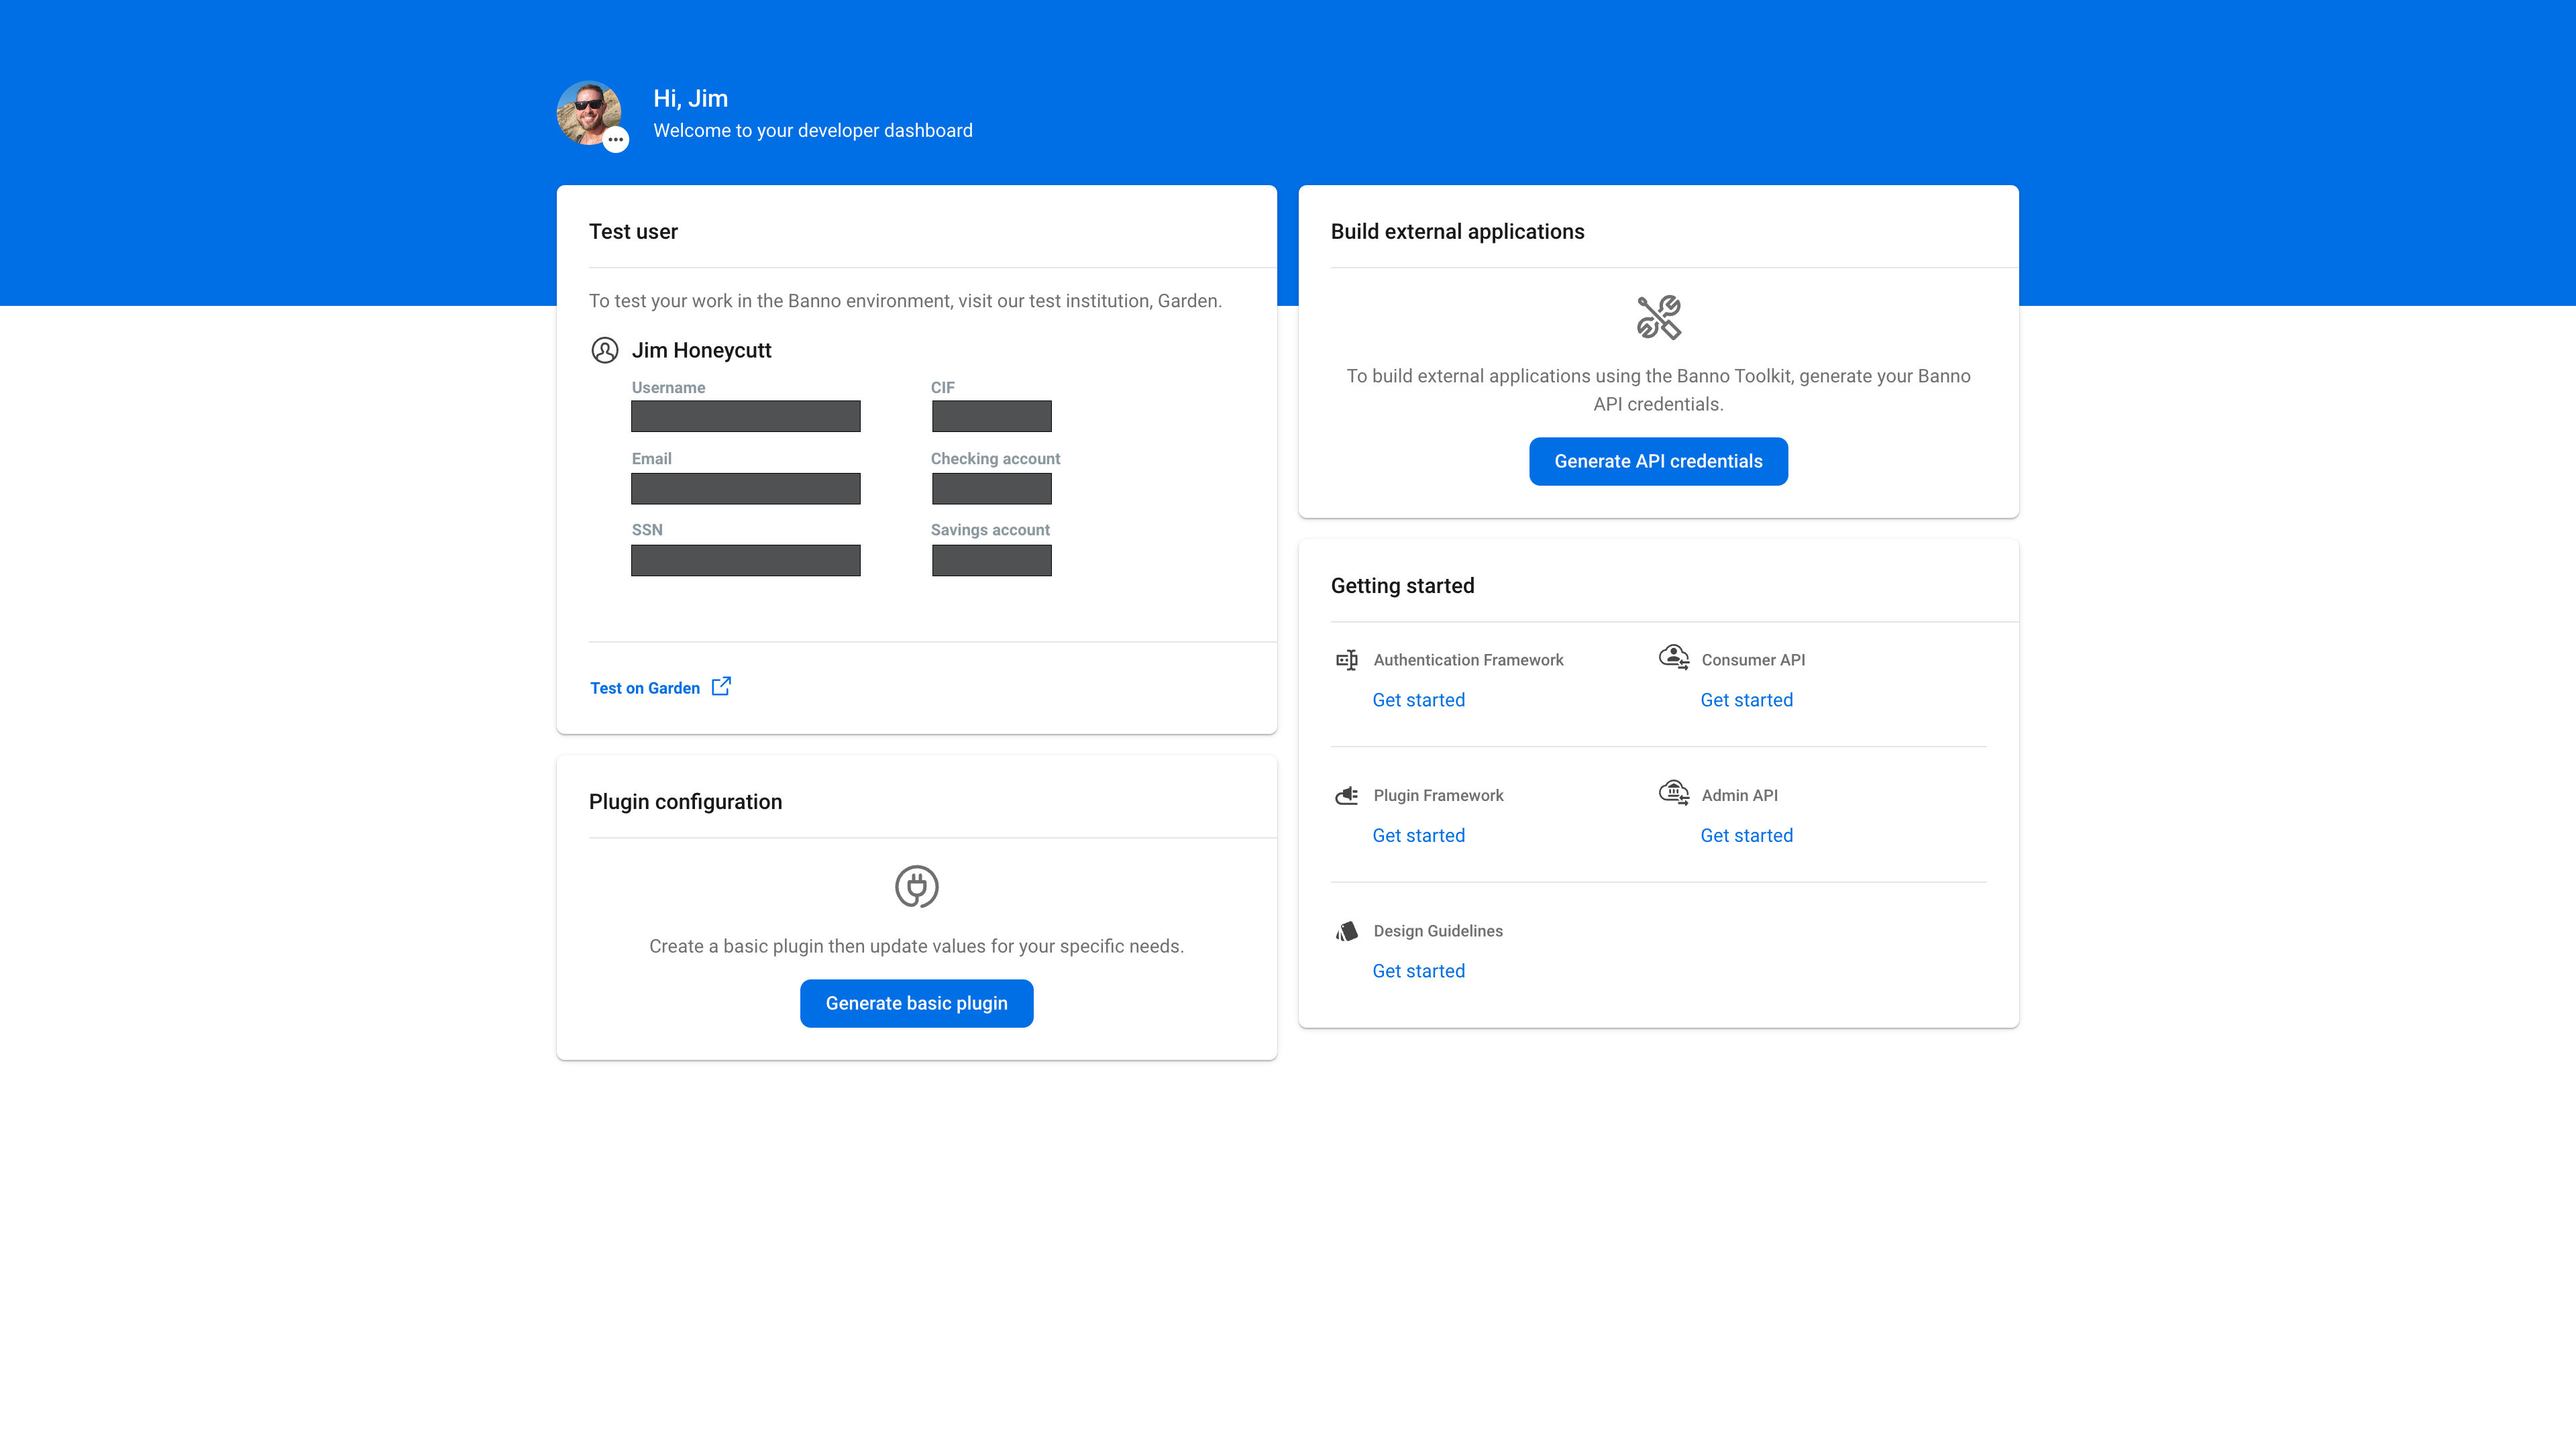
Once enrollment has been verified, you’ll notice the Plugin configuration card and Build external applications card both become active.
Generating and configuring a plugin
Next, let’s create a plugin for testing in the Garden demo institution.
First, open the developer dashboard in your browser: https://jackhenry.dev/portal/dashboard
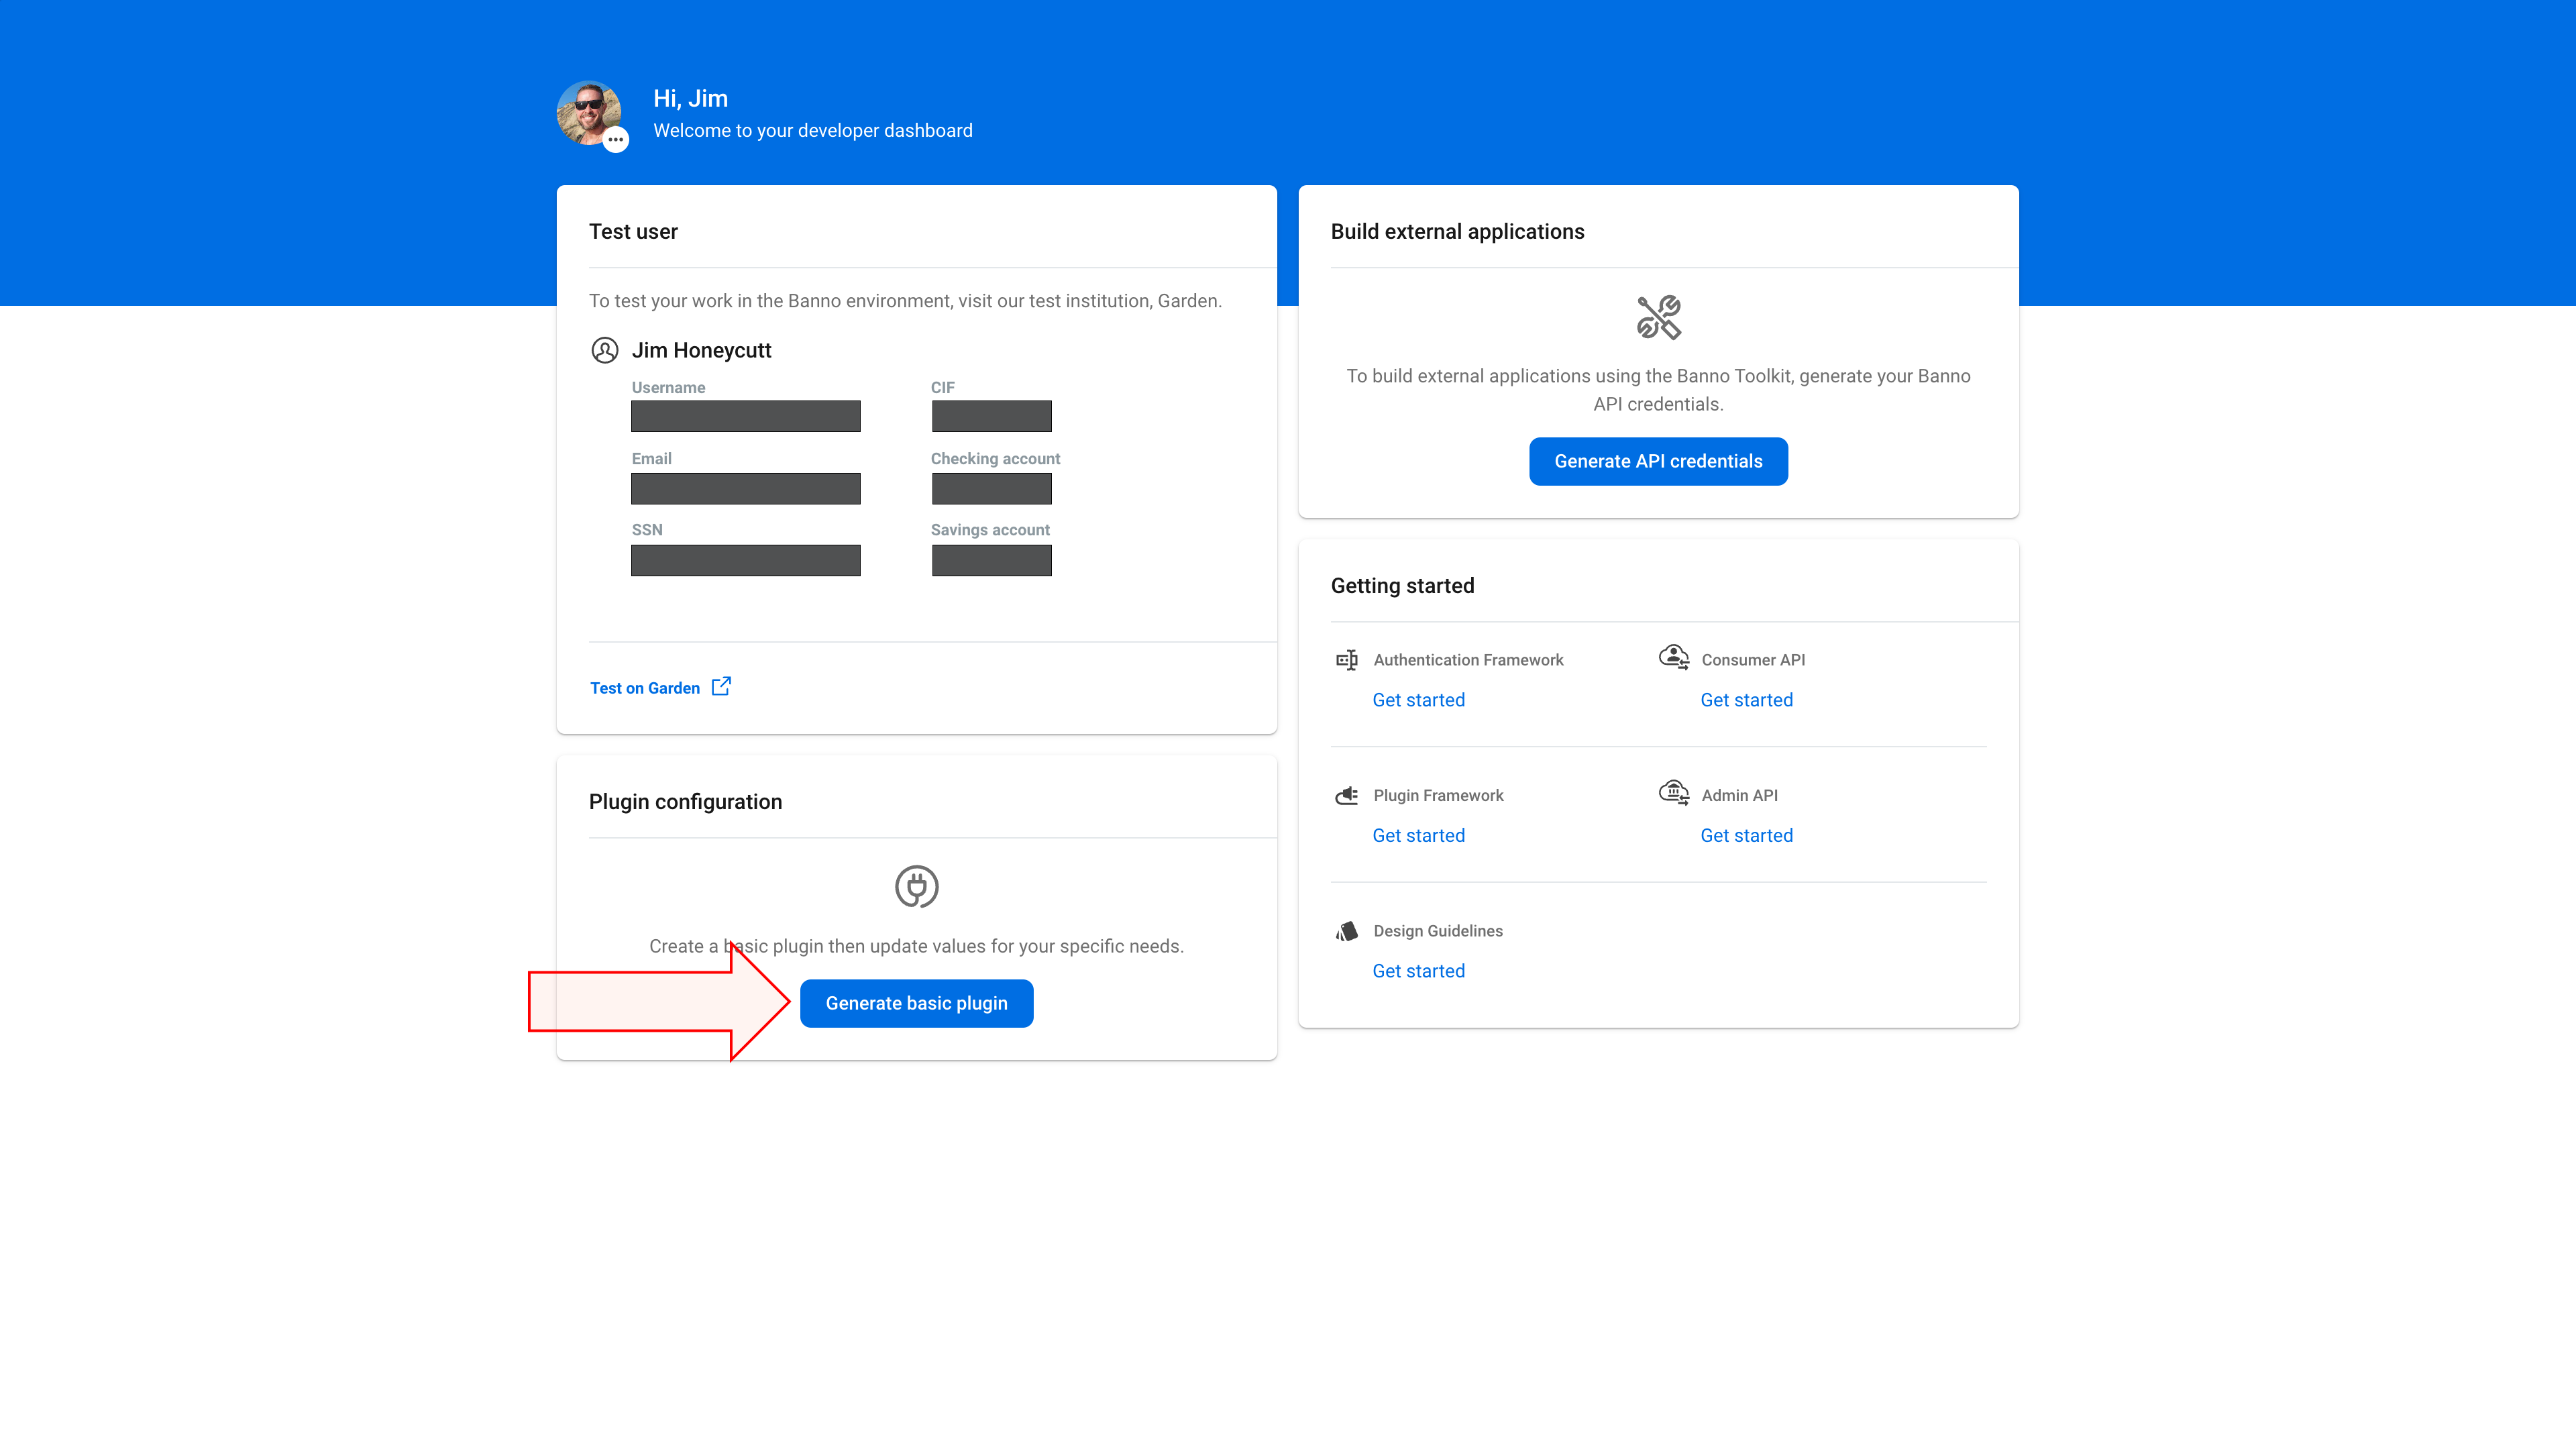
Press the Generate basic plugin button in the Plugin configuration card.
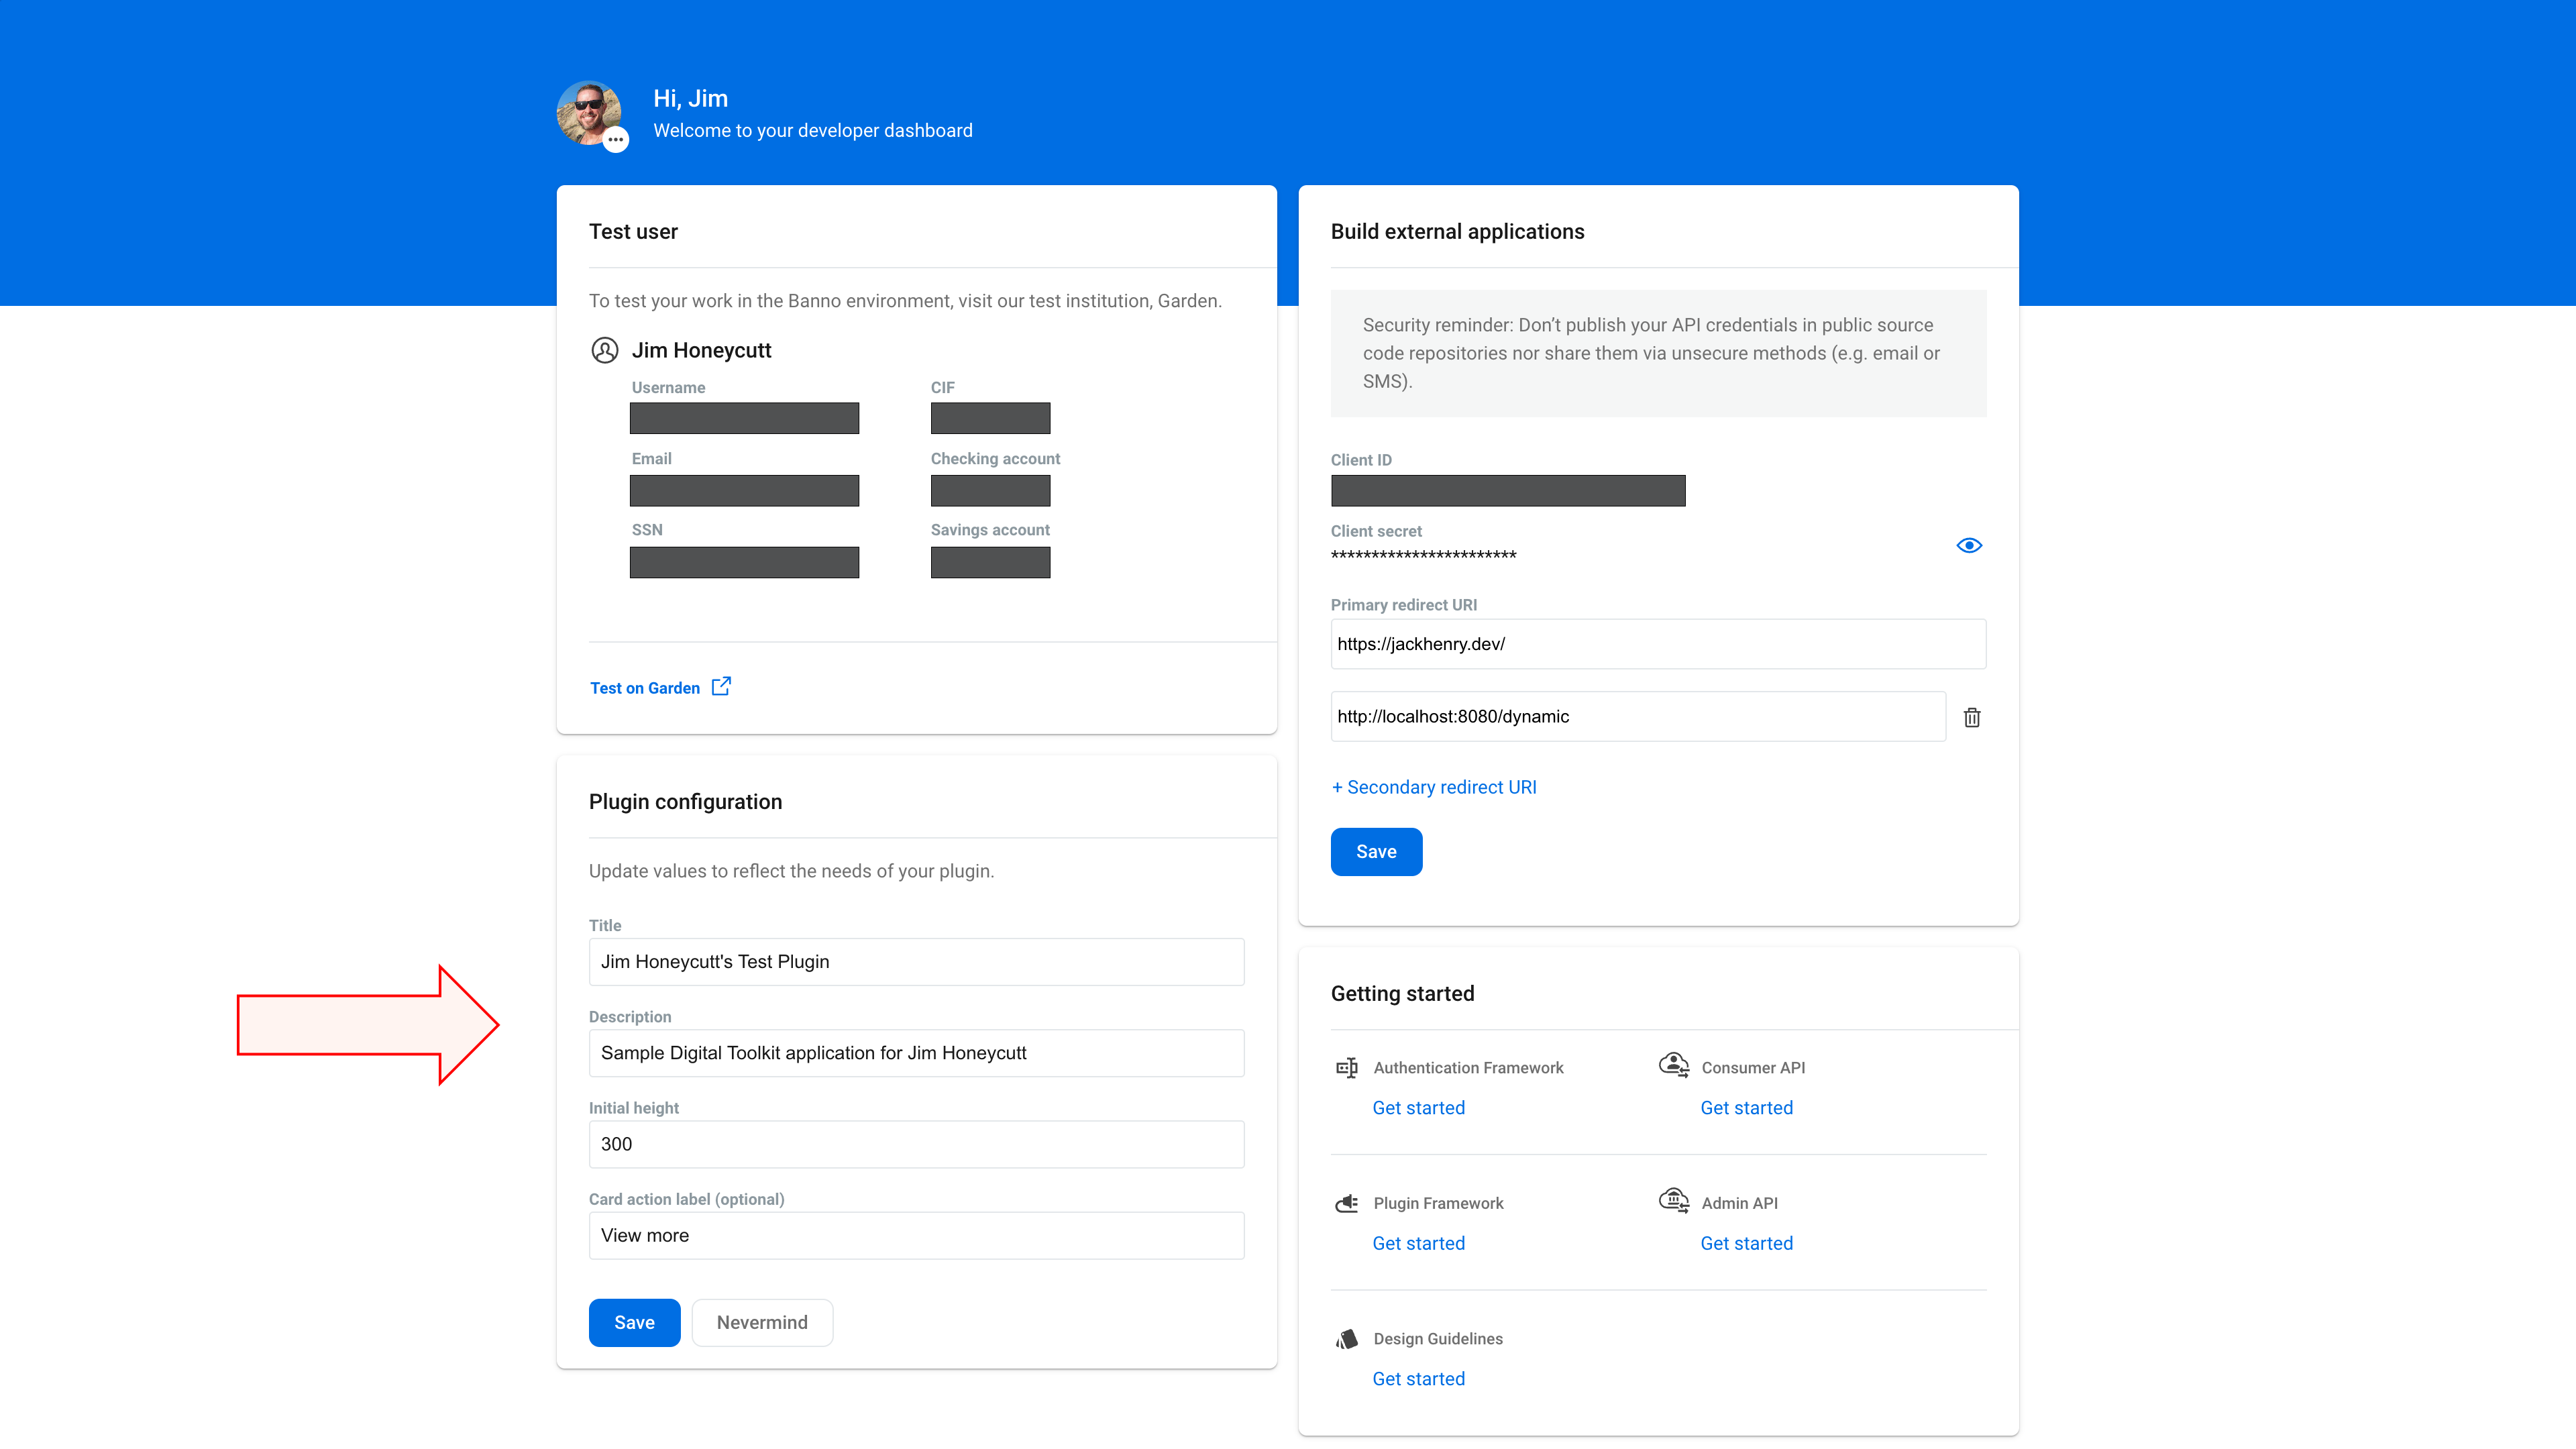
A form displays in the Plugin configuration card. Enter values that are appropriate for your plugin, then press the Save button.
Note that the plugin is initially generated with these defaults, which are each editable:
- Title: [Username’s] Test Plugin
- Description: Sample Digital Toolkit application for [Username]
- Initial height: 300 [pixels]
- Card action label: View more
Building an external application
Next let’s configure your external application for testing in the Garden demo institution.
Open the developer dashboard in your browser: https://jackhenry.dev/portal/dashboard.
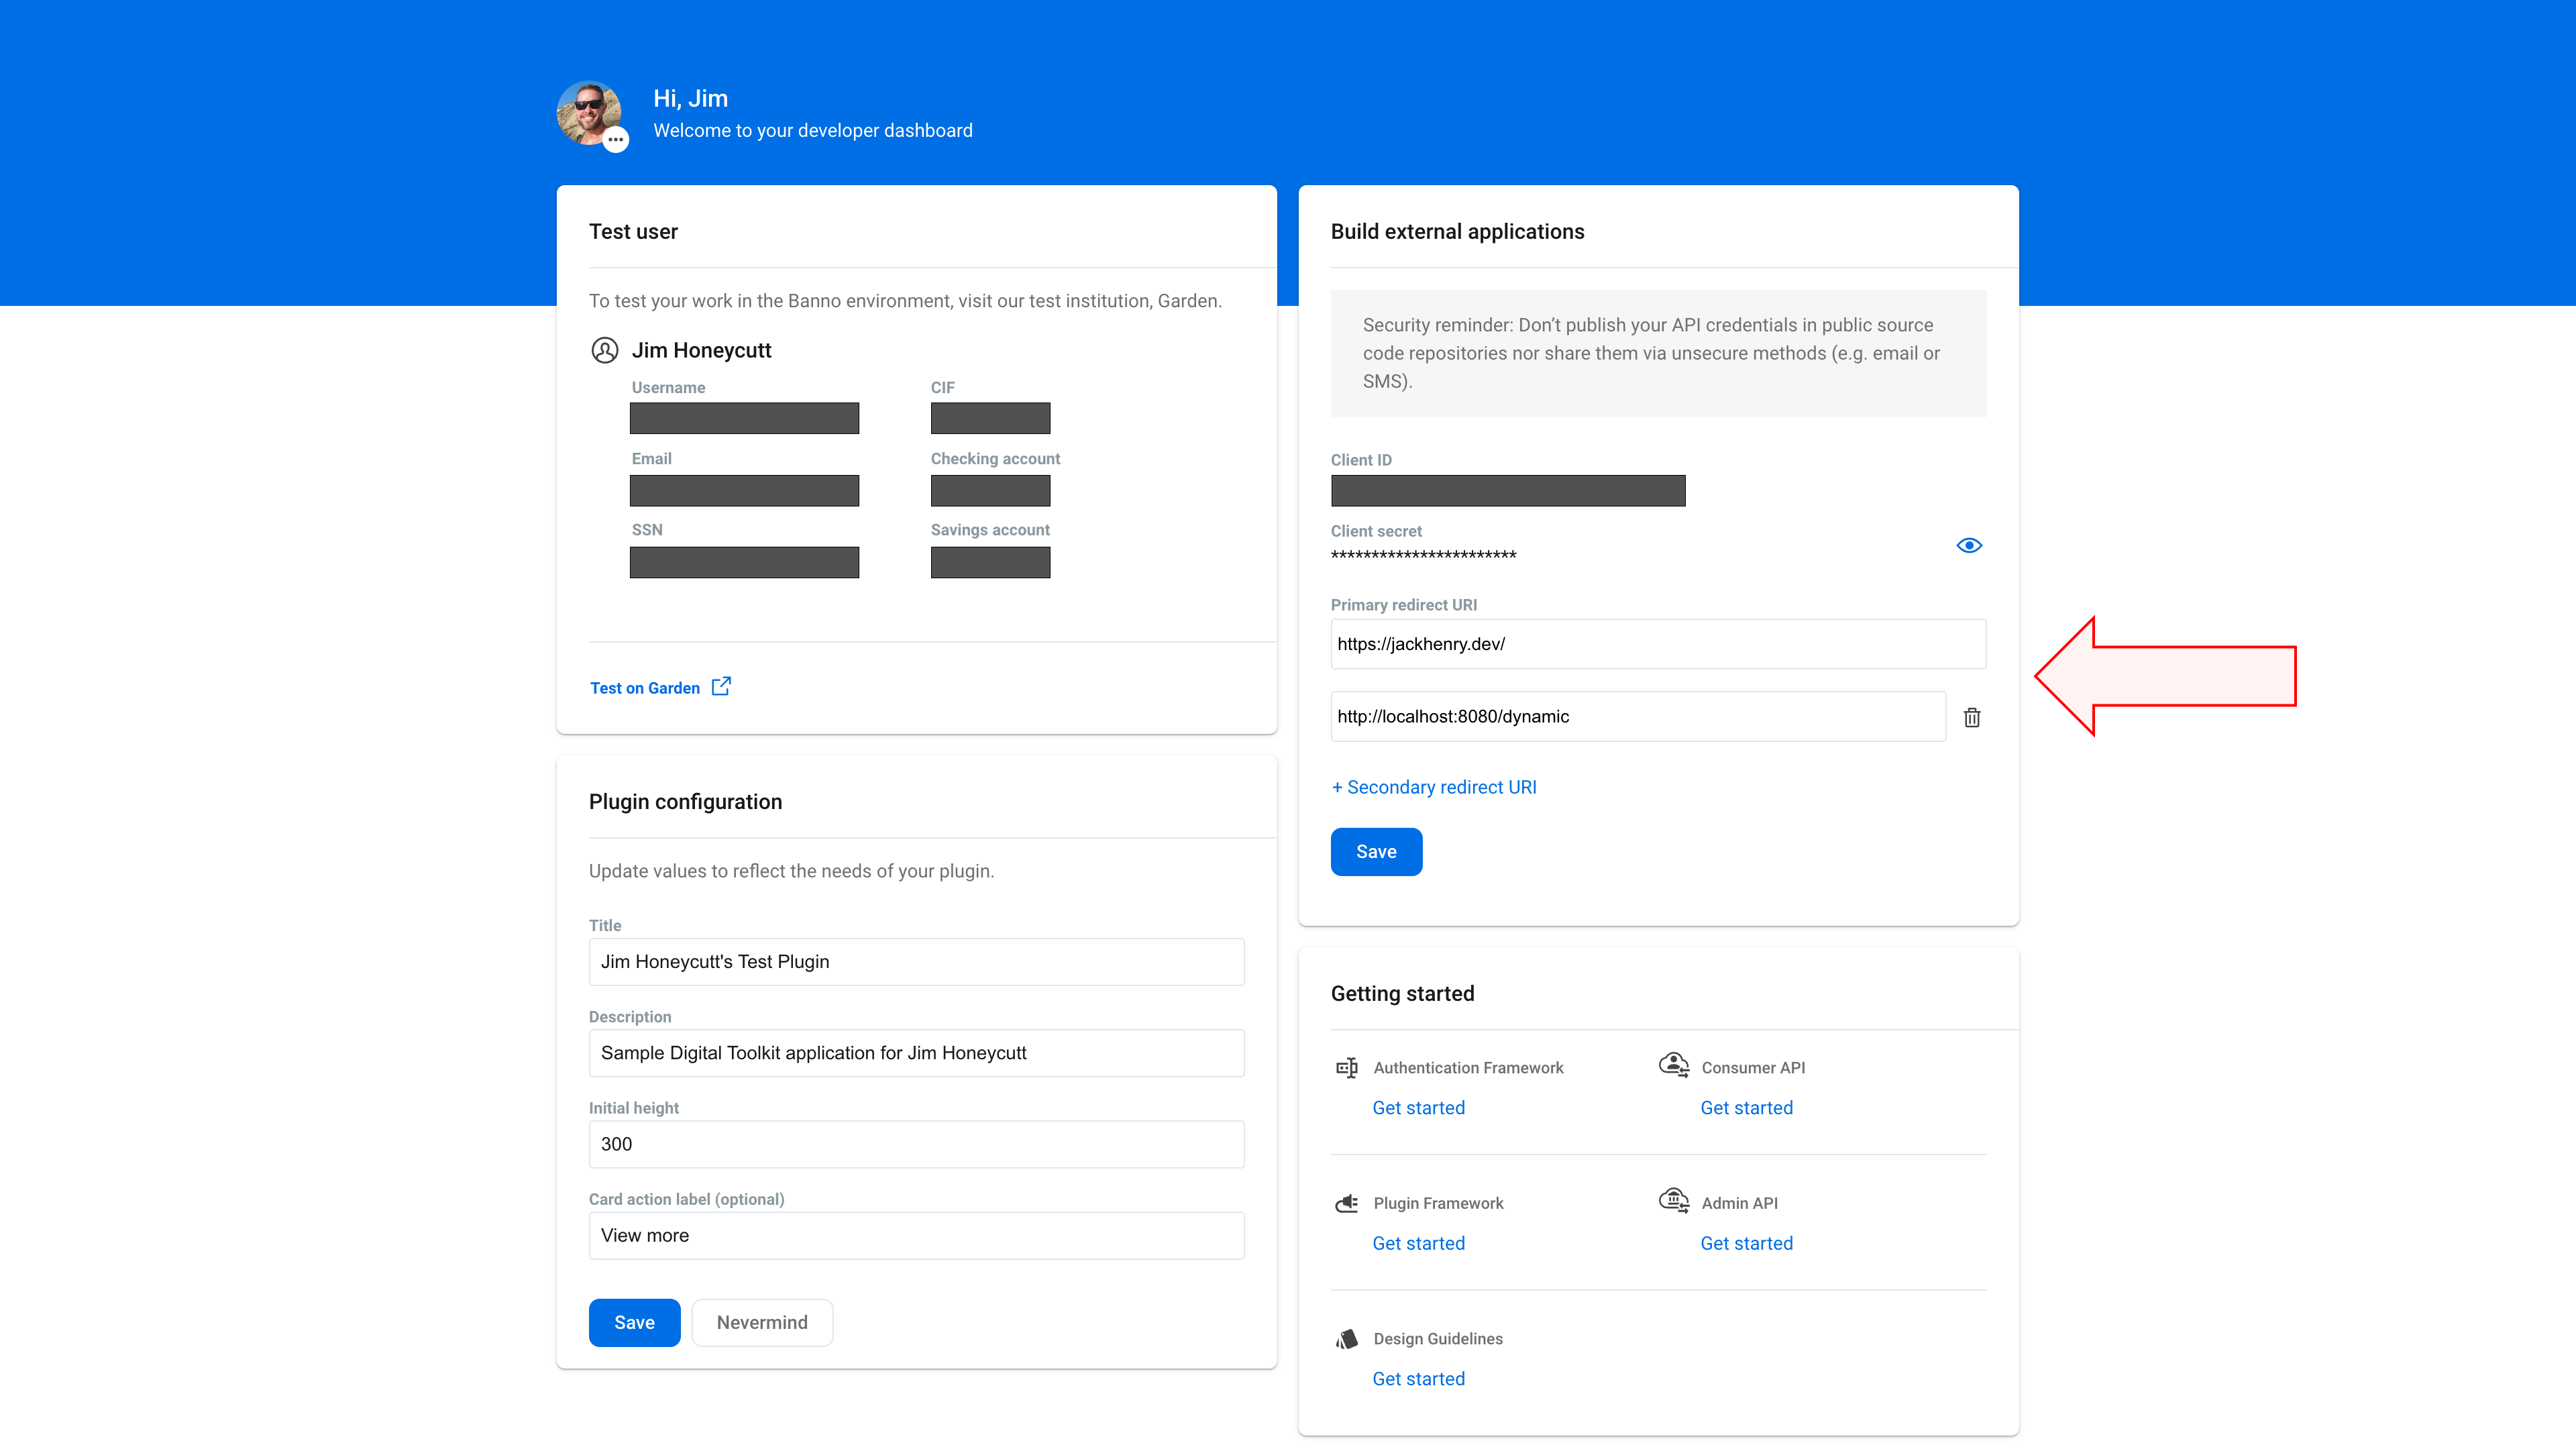
Enter your application’s primary redirect URI in the Primary redirect URI field in the Build external applications card.
If you need a secondary redirect URI, press the + Secondary redirect URI button to add another Redirect URI and enter the value.
Redirect URIs must use HTTPS except in local development. HTTPS is required for all production redirect URIs to properly secure the connection between your application and our API.
The only exception is for local development. The following is a list of local options which are included in the HTTP allowlist:
- Host names of localhost or those that end in .local
- Any address in the IPv4 range of 127.0.0.0/8, 10.0.0.0/8, 172.16.0.0/12, or 192.168.0.0/16 (which includes http://127.0.0.1)
Press the Save button.
The External Application is initially generated with two default Redirect URIs, each of which is editable:
- Primary redirect URI: https://jackhenry.dev/
- (Unnamed secondary redirect URI): http://localhost:8080/dynamic
Next steps
The Banno Mobile apps for the Garden demo institution are available on Google Play and the App Store.
Review the Getting Started pages for each part of the Digital Toolkit: